Understanding the Evap Line on Pregnancy Test: Causes, Identification, and Next Steps

The moment you look at a home pregnancy test, you are often caught between hope, anticipation, and anxiety. You are waiting for a clear answer, yet sometimes the result window shows a faint, almost invisible streak that leaves you questioning everything. This ambiguous marking is frequently an evaporation line, a common phenomenon that confuses millions of people every year. Understanding exactly how an evap line on pregnancy test results forms can save you hours of unnecessary stress and prevent you from making premature decisions based on a false read. Home pregnancy tests have become remarkably accurate, yet their interpretation is entirely dependent on timing, lighting, and knowledge of how the testing mechanism works (Mayo Clinic: Home pregnancy tests). In this comprehensive guide, we will explore the science behind these tests, differentiate between true positives and evaporation artifacts, and provide actionable steps to ensure you receive reliable results. Whether you are actively trying to conceive, managing a delayed period, or simply need clarity, this evidence-based resource will equip you with the confidence and medical knowledge to navigate your testing experience safely and accurately. By the time you finish reading, you will know precisely what to look for, how to avoid common pitfalls, and when to seek professional medical confirmation.
Understanding Pregnancy Tests and Result Lines
Home pregnancy tests are marvels of modern diagnostic science, designed to detect a specific hormone in your urine with clinical-grade precision. To understand why ambiguous lines appear, you must first grasp the fundamental mechanics of how these devices function. Every test kit contains a porous strip treated with antibodies that bind exclusively to human chorionic gonadotropin, commonly abbreviated as hCG. This hormone is produced almost entirely by placental cells shortly after a fertilized egg attaches to the uterine lining (Cleveland Clinic: hCG Test). When urine flows across the test strip, any hCG molecules present will bind to these antibodies, triggering a chemical reaction that deposits colored dye onto a designated detection line. This process is called a lateral flow immunoassay, and it operates reliably when executed correctly. However, the accuracy of this mechanism depends heavily on proper fluid dynamics, controlled drying times, and correct interpretation within strict manufacturer guidelines. When these parameters are disrupted, visual artifacts emerge, which is exactly where the confusion surrounding an evap line on pregnancy test outcomes begins.
How Home Pregnancy Tests Work
The internal architecture of a standard midstream or dip pregnancy test consists of several distinct zones: the absorbent tip, a conjugate pad containing gold-labeled or latex-labeled anti-hCG antibodies, the nitrocellulose membrane with immobilized capture antibodies, and the result window. As you expose the test to urine, capillary action draws the liquid upward through these zones. If hCG is present, it forms a visible sandwich complex between the mobile and immobilized antibodies, causing the test line to change color. A separate control line appears regardless of pregnancy status to confirm that the test functioned properly and the liquid migrated successfully. This control line is essential; without it, the result is invalid. The chemical reaction is designed to stabilize within minutes, after which the liquid begins to evaporate from the strip. As the moisture dissipates, the dye molecules can shift, leaving behind faint streaks that mimic a positive result but lack the actual antibody-hormone binding that defines true pregnancy detection. Recognizing this transition is crucial for accurately identifying an evap line on pregnancy test devices and avoiding false alarms.
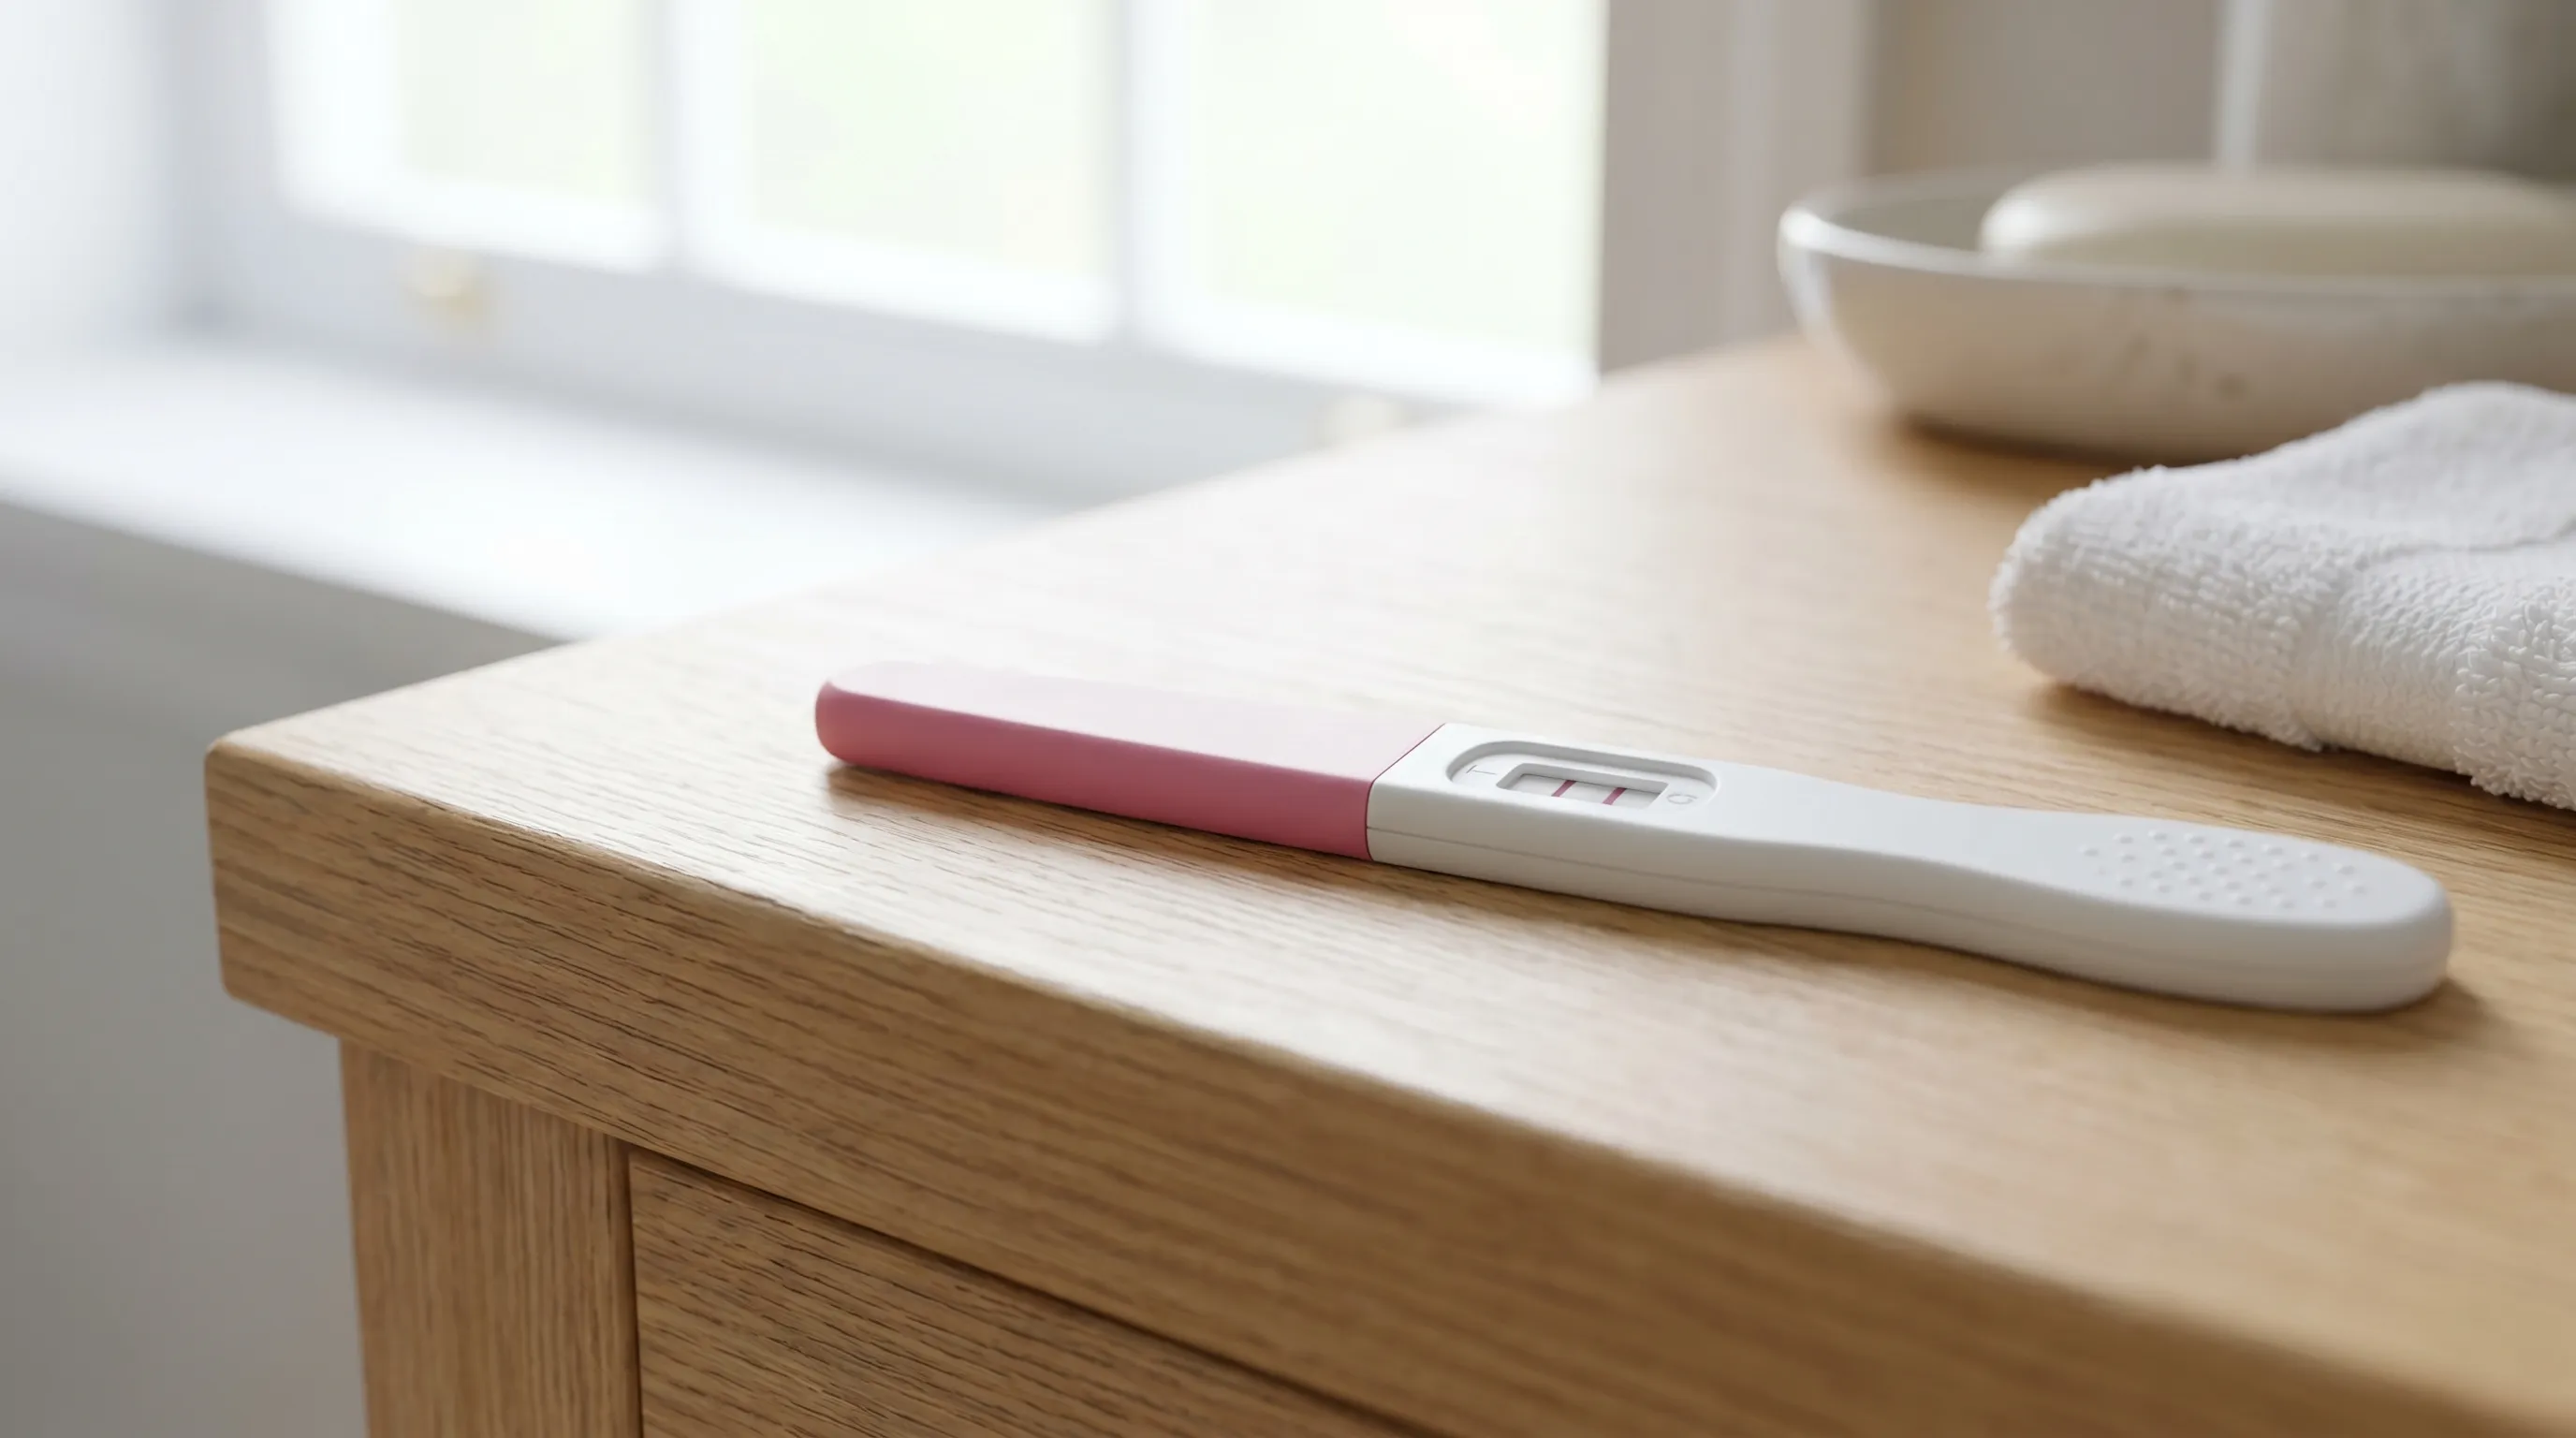
The Difference Between a Positive, Negative, and Evap Line on Pregnancy Test
A true positive result displays as a distinct, colored line within the specified reading timeframe, usually matching the intensity and hue of the control line, though it may start faint if hCG levels are still low in early gestation. A negative result shows only the control line with absolutely no visible marking at the test line location. An evaporation line, on the other hand, is a colorless, grayish, or slightly bluish streak that appears only after the test has dried beyond the recommended window. The critical distinction lies in color saturation and timing. A genuine positive will contain the dye color specified by the manufacturer, typically pink, blue, or red, and will appear clearly within the first three to five minutes. An evap line on pregnancy test strips lacks pigment because it results from urine residue drying on the membrane, leaving a physical depression or shadow rather than a chemically activated reaction. Many individuals mistake this shadow for a faint positive, but it does not indicate hormone detection. Understanding this fundamental difference eliminates guesswork and ensures you are responding to accurate physiological data rather than optical illusions caused by drying fluid.
What Exactly Is an Evaporation Line?
An evaporation line is a common testing artifact that occurs when urine dries completely on the absorbent strip of a pregnancy test. It is not a biological signal, nor does it represent a hidden hormonal reaction. Instead, it is a physical remnant left behind as liquid moisture transitions into vapor. As the fluid evaporates, it can carry trace amounts of dye or urine minerals to the detection zone, leaving behind a faint, often colorless streak that catches light differently than a true result line. This phenomenon is entirely predictable from a materials science perspective. The nitrocellulose membrane used in lateral flow tests is highly absorbent, designed to wick liquid efficiently. Once the test has served its diagnostic purpose, the remaining moisture slowly leaves the porous structure. During this drying process, the capillary channels collapse slightly, creating subtle indentations that reflect light differently than the surrounding paper-like material. When viewed under certain lighting conditions, these indentations appear as faint lines. If you are actively searching for an evap line on pregnancy test windows, recognizing that it is a structural artifact rather than a diagnostic marker will help you maintain emotional stability and avoid unnecessary retesting.
The Science Behind Evaporation Lines
The formation of evaporation lines is governed by basic principles of fluid dynamics and material evaporation. When urine contacts the test strip, it dissolves the conjugated dye-antibody complexes, which then migrate across the membrane. The reaction zone contains a secondary layer of antibodies immobilized in a precise pattern to capture hCG. If no hCG is present, the dye continues migrating until it reaches an absorbent sink pad, leaving the test line zone clear. However, as the liquid dries, residual urine components can crystallize along the capillary pathways. These microscopic deposits alter the refractive index of the test membrane, creating a visible line under direct lighting. Additionally, some manufacturers use dye formulations that are slightly more soluble in water than others. As the solvent evaporates, these dyes can concentrate unevenly, leaving behind a pale residue that mimics a positive readout. This is why timing is everything in pregnancy testing (MedlinePlus: Pregnancy Tests). Reading a test after the ten-minute mark dramatically increases your chances of encountering an evaporation line on pregnancy test results. The manufacturer's reading window is calculated precisely to capture the peak moment of antibody binding before evaporation artifacts begin to form.
How an Evaporation Line Differs from a Dye Run or Faint Positive
While evaporation lines, dye runs, and faint positives can look similar at first glance, they stem from entirely different mechanisms. A faint positive occurs when hCG is present but at low concentrations, typically during very early pregnancy. The line will display the manufacturer's specified dye color, even if pale, and will remain stable within the valid reading window. A dye run happens when excess urine oversaturates the membrane, causing dye to pool or streak uncontrollably across the window. This usually results in a smeared, irregular marking that lacks the crisp edges of a true line. An evap line on pregnancy test kits, by contrast, appears as a perfectly straight but colorless or grayish streak that emerges only after the test has fully dried. If you tilt the test under a lamp, a true positive will reflect the dye color consistently, while an evaporation line will often disappear or change appearance depending on the viewing angle. Learning to differentiate between these three outcomes requires practice, proper lighting, and strict adherence to timing protocols. When in doubt, retesting with a fresh kit using first-morning urine is always the most reliable path forward.
Common Causes of Evaporation Lines
Understanding why evaporation lines appear is half the battle to accurate testing. While they are a normal byproduct of how lateral flow tests dry out, certain user behaviors and environmental factors dramatically increase their frequency and visibility. By identifying and correcting these variables, you can significantly reduce confusion and ensure that your results remain clear and actionable. Many people unknowingly create the perfect conditions for an evap line on pregnancy test kits simply by following outdated advice or misinterpreting instructions. The most common triggers involve timing errors, storage mistakes, and improper testing habits. Each of these factors disrupts the delicate balance required for accurate hormone detection and introduces variables that compromise result clarity.
Reading the Test Past the Recommended Time Window
The single greatest cause of evaporation lines is reading a pregnancy test outside the manufacturer's specified timeframe. Most kits instruct users to check results between three and five minutes after testing. Some may allow up to ten minutes, but very few guarantee accuracy beyond that point. Once the test enters the drying phase, the chemical reaction stabilizes, and the membrane begins to lose moisture. As evaporation progresses, the structural changes mentioned earlier become increasingly visible. Many individuals wait longer, believing that a faint line will darken if given more time. Unfortunately, this practice guarantees exposure to evaporation artifacts. An evap line on pregnancy test results will almost never appear within the first three minutes. If you check your test after thirty minutes or an hour, you are essentially observing a dried sample, which is clinically invalid for diagnostic purposes. Always set a timer, place the test face-up on a flat surface, and discard it immediately after the valid window closes.
Improper Test Storage or Expired Kits
Pregnancy tests are sensitive diagnostic tools that require proper environmental storage to function correctly. Exposure to extreme heat, humidity, or direct sunlight can degrade the antibodies embedded in the test strip and compromise the conjugate pad. When tests are stored in bathroom cabinets with high humidity, the nitrocellulose membrane can absorb moisture from the air, altering its capillary properties. This pre-moisture saturation causes urine to migrate unpredictably, increasing the likelihood of uneven drying and artifact formation. Additionally, using an expired test kit introduces chemical instability. The antibodies and dyes degrade over time, reducing their binding efficiency and causing erratic color development. Expired tests frequently produce faint, shadowy lines that users mistake for positives, only to discover they were actually evaporation line on pregnancy test remnants caused by degraded reagents. Always check the expiration date before use, store tests in a cool, dry place, and allow refrigerated kits to reach room temperature before opening to prevent condensation from interfering with the reaction.
Urine Concentration and Testing Timing
The composition and concentration of your urine play a significant role in how cleanly the test strip dries. Highly diluted urine from excessive fluid intake moves through the membrane too quickly, sometimes leaving insufficient time for complete antibody binding and resulting in patchy or faint lines that resemble evaporation artifacts. Conversely, overly concentrated urine can oversaturate the strip, increasing the risk of dye pooling and subsequent drying shadows. Testing at inconsistent times of day introduces variability that makes result interpretation difficult. For the most accurate and artifact-free results, testing should ideally occur during the early morning hours when first-morning urine contains the highest hCG concentration and most stable osmolarity (National Institutes of Health: Early Pregnancy). If you must test later in the day, limit fluid intake for two hours prior to testing to avoid dilution. Proper hydration is essential for overall health, but strategic timing ensures that your pregnancy test operates under optimal conditions, minimizing the chance of misreading an evap line on pregnancy test windows.
How to Accurately Identify an Evap Line on Pregnancy Test
Accurate identification requires a systematic approach that combines timing, visual assessment, and comparative analysis. When you understand what to look for, distinguishing between a true result and an evaporation artifact becomes straightforward. Medical professionals recommend a structured evaluation process to eliminate guesswork and reduce anxiety during the waiting period. This process involves examining color saturation, assessing placement, verifying timing, and cross-referencing with manufacturer guidelines. By applying these evidence-based techniques consistently, you can confidently interpret your results without second-guessing every faint marking that appears.
Color, Intensity, and Placement Clues
The most reliable indicator of a true positive is pigment. A genuine result line will contain the exact dye color specified by the manufacturer, whether pink, blue, or magenta. Even a very early positive will display this color, albeit faintly. An evaporation line on pregnancy test devices will typically appear colorless, silver, gray, or a pale wash that does not match the control line. Intensity is another crucial factor. A real positive line, regardless of how light, will have crisp edges and uniform color distribution. Evaporation lines often appear slightly blurred, uneven in width, or darker at one end. Placement also matters. True test lines form at a specific, predetermined location on the membrane, aligned precisely with the control line. If a streak appears outside the designated window or runs diagonally across the result area, it is almost certainly a drying artifact. Use bright, natural lighting to evaluate your test, and avoid tilting it excessively, as angled viewing can exaggerate shadows and make evap lines appear more prominent than they actually are.
Step-by-Step Guide to Reading Results Correctly
- Gather your supplies: Ensure the test is within its expiration date and has been stored properly. Read the manufacturer instructions thoroughly before opening the packaging.
- Collect your sample: Use first-morning urine whenever possible. If using a dip test, ensure the absorbent tip is submerged to the indicated line without oversaturation.
- Start your timer immediately: Begin timing the moment urine contacts the test. Place the device face-up on a clean, flat surface away from direct sunlight.
- Evaluate at the three-minute mark: Check for any visible lines. Note that negatives at this stage are valid, while early positives may already show faint color.
- Perform a final check at the manufacturer's maximum window: Typically five to ten minutes. Any line that appears within this timeframe and displays proper dye color is considered positive.
- Discard the test: Once the maximum window passes, dispose of the kit. Do not revisit it, as an evap line on pregnancy test results will almost certainly develop during this post-valid period.
Following this protocol ensures you capture results at their diagnostic peak while completely avoiding evaporation artifacts. Consistency in your routine will dramatically improve result clarity and reduce interpretive stress.
What to Do If You See a Suspicious Line
Encountering a faint or ambiguous line can trigger a wave of emotions, but reacting impulsively rarely leads to clarity. Instead, adopt a structured troubleshooting approach that prioritizes accuracy, patience, and medical guidance. The goal is to eliminate variables that cause confusion and gather definitive data through controlled retesting. Understanding how to respond appropriately to an evap line on pregnancy test outcomes ensures you neither dismiss a real pregnancy nor convince yourself of a false one.
Retesting with First-Morning Urine
The most effective immediate action is to wait forty-eight to seventy-two hours before testing again. If pregnancy has occurred, hCG levels will typically double during this period, converting a faint positive into a clearly visible line. Always use first-morning urine for your follow-up test, as it contains the highest hormone concentration and provides the most reliable diagnostic environment. Ensure the new test is from a reputable manufacturer, properly stored, and unexpired. When retesting, follow the timing protocol strictly and evaluate the result within the valid window. If the second test shows a clear positive, you have confirmation. If it remains negative or shows another colorless streak that only appears after drying, the initial marking was almost certainly an evaporation line on pregnancy test strips, not a hormonal signal.
Switching Test Brands or Types
Not all pregnancy tests are manufactured equally, and some formulations are more prone to evaporation artifacts than others. If you consistently experience confusing results with blue dye tests, consider switching to a pink dye brand. Pink dye tests generally produce fewer grayish drying streaks and display clearer color contrast. Alternatively, digital pregnancy tests eliminate visual interpretation entirely by using an optical sensor to read the test line internally and displaying a simple worded result on a screen. While digital tests are more expensive, they remove the guesswork surrounding faint lines and evaporation shadows. Switching test types is a practical strategy for individuals who struggle with result anxiety or who have a history of misreading lateral flow windows. Remember that regardless of the brand, the biological principle remains identical: only a properly timed, pigment-displayed line indicates hCG detection.
When to Consult a Healthcare Provider
If you continue receiving ambiguous results after multiple attempts, or if your menstrual cycle remains absent despite repeated negatives, schedule a consultation with your primary care physician or a gynecologist. A clinical quantitative hCG blood test measures the exact hormone concentration in your bloodstream, providing definitive results that home tests cannot match (CDC: Signs of Pregnancy). Blood tests detect hCG as early as seven to twelve days after conception and can track hormone progression to confirm healthy implantation. Additionally, if you experience pelvic pain, unusual bleeding, dizziness, or severe cramping, seek medical attention immediately, as these symptoms can indicate ectopic pregnancy or other complications that require prompt evaluation. Healthcare providers can also investigate alternative causes for missed periods, such as thyroid dysfunction, polycystic ovary syndrome, stress-induced anovulation, or perimenopause. Trusting clinical diagnostics over ambiguous home results ensures your health and reproductive journey remain safely guided.
| Feature | True Positive Line | Negative Result | Evaporation Line | Dye Run Artifact |
|---|---|---|---|---|
| Appearance Time | Within 3-10 minutes | No test line at any time | Only after test fully dries (10+ min) | Immediately after saturation, irregular |
| Color | Matches dye color (pink/blue/red) | None | Colorless, gray, or pale shadow | Smudged, pooled, uneven pigment |
| Edge Clarity | Crisp, uniform, straight | N/A | Slightly blurred, uneven width | Smeared, bleeds beyond test zone |
| HCG Presence | Yes | No | No | No (testing error) |
| Recommended Action | Schedule prenatal visit | Retest in 2-3 days if period is late | Ignore, discard test, retest later | Discard, use fresh kit with correct volume |
This comparison table highlights the critical visual and temporal differences that separate accurate hormonal detection from testing artifacts. Refer to it whenever you encounter a questionable marking to maintain objectivity and avoid premature conclusions.
Preventing False Alarms in Your Pregnancy Journey
Minimizing confusion begins long before you open a test kit. Implementing best practices for administration, managing the psychological impact of ambiguous results, and maintaining a structured testing routine will dramatically improve your experience. False alarms do not just waste money; they create unnecessary emotional turbulence that can impact sleep, stress levels, and overall well-being. By approaching testing with clinical discipline, you protect both your accuracy and your mental health.
Best Practices for Test Administration
Always read the manufacturer's instructions before use, as protocols vary slightly between brands. Store tests in a consistent, temperature-controlled environment away from humidity. Use a timer for every test and never rely on memory to estimate reading windows. Limit fluid intake for two hours before testing to maintain urine concentration. Keep a notebook to log testing dates, times, brands, and results to track patterns accurately. If using midstream tests, hold the stick at a slight downward angle to prevent backflow and ensure even saturation. For dip tests, submerge only to the indicated line and hold for the exact recommended duration. Place the test on a completely flat surface to prevent fluid migration errors. These small adjustments compound to produce consistently reliable results, effectively eliminating the variables that generate an evap line on pregnancy test windows.
Managing Emotional Stress and Uncertainty
The two-week wait and the ambiguity of faint lines take a significant psychological toll. Acknowledge that uncertainty is a normal part of early pregnancy testing. Practice grounding techniques such as deep breathing, short walks, or mindfulness exercises to regulate cortisol levels during waiting periods. Limit social media browsing and avoid online forums where individuals share anecdotal experiences that may not apply to your situation. Each person's hCG production and menstrual cycle varies, making direct comparisons unhelpful. Focus on controllable factors like hydration, sleep quality, and stress reduction. If testing anxiety becomes overwhelming, consider speaking with a therapist or counselor who specializes in fertility or reproductive health. Professional support provides coping strategies that keep your emotional well-being intact while you navigate the testing process. Remember that clarity will eventually arrive, and maintaining a balanced mindset ensures you respond to results with confidence rather than fear.

Frequently Asked Questions
Can an evap line appear immediately after taking the test?
No, true evaporation lines do not appear within the manufacturer's specified reading window, typically three to five minutes after testing. An evap line on pregnancy test results only forms as the urine dries completely, which usually occurs ten minutes or more after the test has been exposed to air.
Do pink dye tests show fewer evaporation lines than blue dye tests?
Many healthcare professionals and users report that pink dye pregnancy tests produce fewer confusing evaporation lines compared to blue dye tests. Blue dye tests can leave behind a faint grayish or bluish tint as they dry, which is often mistaken for a positive result. Switching to a pink dye test can improve clarity when trying to identify an evap line on pregnancy test kits.
How can I tell if I am pregnant if the line keeps fading?
If you are seeing inconsistent results, the most reliable approach is to test again forty-eight to seventy-two hours later using first-morning urine. Human chorionic gonadotropin levels typically double every forty-eight hours in early pregnancy. If a line becomes progressively darker within the valid time window, it likely indicates pregnancy. If the line remains faint, disappears, or appears only as a colorless streak after drying, it is probably an evaporation line on pregnancy test results.
Should I call my doctor immediately if I see a faint line?
You do not need to panic or contact your healthcare provider immediately for a single faint or ambiguous line. Retest in two to three days. However, if you confirm pregnancy with multiple darkening lines or experience symptoms like pelvic pain, heavy bleeding, or dizziness, contact your provider promptly to schedule an early prenatal visit and confirm results with a clinical blood test.
Are evaporation lines more common on digital pregnancy tests?
Digital pregnancy tests use optical sensors to read the test strip internally and display a clear worded result, which significantly reduces the chance of misinterpreting faint lines or evaporation artifacts. While the internal strip may still develop an evaporation line after drying, it does not affect the digital readout, making digital options ideal for individuals who struggle to interpret traditional window-based results.
Conclusion
Navigating the world of at-home reproductive health testing requires patience, precision, and a clear understanding of how diagnostic devices function. Recognizing the difference between a true hormonal response and a drying artifact empowers you to make informed decisions without falling prey to unnecessary stress. By adhering strictly to manufacturer timing windows, using optimal testing conditions, and understanding the physiological basis of hCG detection, you can confidently interpret your results. Remember that an evap line on pregnancy test strips is a common, completely harmless byproduct of the evaporation process and never indicates pregnancy. Trust the protocol, retest strategically when needed, and seek clinical confirmation if uncertainty persists. Your reproductive journey deserves clarity, compassion, and scientifically sound guidance. Armed with this knowledge, you can approach every test with confidence, knowing exactly what the lines mean and how to respond appropriately. For ongoing guidance on fertility, early pregnancy care, and reproductive wellness, always consult licensed healthcare professionals and refer to evidence-based medical resources (World Health Organization: Pregnancy Care).

About the author
Sofia Rossi, MD, is a board-certified obstetrician-gynecologist with over 15 years of experience in high-risk pregnancies and reproductive health. She is a clinical professor at a top New York medical school and an attending physician at a university hospital.