How Long Does a Belly Piercing Heal? Complete Recovery Guide

Getting a new piercing is an exciting step toward self-expression, but the reality of post-procedure care demands patience, knowledge, and meticulous hygiene. Many people underestimate the biological complexity involved when skin is punctured and jewelry is permanently introduced into the dermal layers. The navel, specifically, presents unique anatomical challenges due to its constant movement, moisture retention, and friction from clothing. Understanding exactly how to navigate this delicate process is crucial for avoiding infections, minimizing scarring, and ensuring long-term aesthetic success. If you want your body modification to thrive rather than fail, mastering the fundamentals of wound care and tissue regeneration is non-negotiable. This comprehensive guide breaks down the entire healing journey, backed by clinical dermatology standards and professional body modification best practices, so you can approach recovery with confidence and scientific precision.
Understanding the Anatomy and Physiology of Navel Piercings
Before diving into aftercare routines, it is essential to comprehend why the navel behaves differently than other pierced body sites. The skin surrounding the umbilicus varies in thickness, tension, and vascularity depending on individual anatomy, body composition, and posture. Unlike earlobes, which consist of relatively soft, highly vascularized fatty tissue, or cartilage areas that heal slowly due to minimal blood flow, the navel represents a dynamic transitional zone where abdominal fascia meets superficial dermal layers.
Free calculatorWater Intake CalculatorCalculate daily water needsOpen the calculatorWhat Makes a Belly Piercing Unique?
A standard navel piercing is technically a surface-level modification that passes through a fold of skin at the upper or lower lip of the umbilicus, not directly through the actual belly button cavity. This distinction is critical for placement and healing. Because the piercing traverses mobile tissue that stretches during breathing, sitting, and bending, the wound experiences continuous mechanical stress. This constant micro-movement can disrupt early collagen formation, which is why proper jewelry selection and clothing choices directly influence the final outcome. Furthermore, the navel naturally accumulates moisture, dead skin cells, and bacteria, creating a warm, enclosed environment that can promote microbial growth if not properly ventilated and cleaned.
Professional piercers who follow guidelines from the Association of Professional Piercers (APP) emphasize anatomical suitability over aesthetic preference. Individuals with deep-set, recessed, or horizontally shaped navels often require specialized surface bars or are advised against traditional navel jewelry due to high rejection rates. A thorough anatomical assessment ensures the fistula forms straight through healthy, stable tissue rather than through folded or compressed skin that will inevitably migrate outward.
Blood Supply and Tissue Regeneration
Wound healing is fundamentally a vascular and cellular process. Immediately after the needle passes through, localized trauma triggers hemostasis, where platelets form a temporary plug to prevent bleeding. Simultaneously, vasodilation increases blood flow to deliver immune cells, oxygen, and essential nutrients. The navel region benefits from moderate vascularization supplied by branches of the inferior and superior epigastric arteries, but the superficial nature of the piercing means it relies heavily on angiogenesis, the formation of new microvessels, to sustain tissue repair. According to the Cleveland Clinic's wound healing overview, this phase requires consistent oxygenation and nutrient delivery to prevent delayed closure.
Fibroblasts migrate to the wound site within days, synthesizing collagen and elastin to rebuild structural integrity. In a piercing, these cells must organize around the jewelry shaft, creating a stable epithelial tunnel known as the fistula. If disrupted by excessive movement, chemical irritants, or bacterial colonization, fibroblasts may produce disorganized collagen, leading to hypertrophic scarring or chronic inflammation. Supporting this cellular activity through proper hygiene, adequate hydration, and targeted nutrition significantly accelerates tissue maturation.
The Complete Healing Timeline: What to Expect
Healing is not linear. It progresses through overlapping biological phases that dictate visible symptoms, care requirements, and activity restrictions. Understanding where you fall within the timeline helps you avoid unnecessary panic during normal inflammatory responses and recognize when genuine complications arise.
Phase One: Initial Inflammation and Clotting (Days 1–14)
The first two weeks are characterized by acute inflammatory response. Expect mild swelling, localized redness, tenderness to touch, and the formation of serosanguineous fluid, a normal mixture of plasma and minor blood cells that dries into light yellow or clear crusts. This is your body’s defense mechanism in action. The jewelry will likely feel slightly loose as swelling subsides, but the initial bar is intentionally oversized to accommodate this expansion. During this phase, the primary goal is infection prevention. Avoid twisting the jewelry, using harsh antiseptics, or covering the site with occlusive bandages. Consistent sterile saline cleansing twice daily removes dried lymph without disrupting the fragile scab matrix.
Phase Two: Proliferation and Epithelialization (Weeks 3–12)
As acute inflammation resolves, the body shifts into tissue rebuilding mode. New epidermal cells begin migrating along the jewelry shaft from both entry points, gradually sealing the outer wound while internal fibroblasts reinforce the fistula. You will notice decreased pain, reduced swelling, and firmer tissue around the holes. However, this phase remains highly vulnerable to trauma. The newly formed epithelium is only a few cell layers thick and can tear easily from snagging or pressure. Crusting becomes more minimal but may still appear after sleep or exercise. This is when many individuals prematurely downsize jewelry or change aftercare routines, triggering set-backs in the healing process. Maintaining consistency is crucial.
Phase Three: Maturation and Final Remodeling (Months 4–12+)
The final stage involves collagen remodeling, where disorganized scar tissue gradually aligns along stress lines, strengthening the fistula and improving flexibility. Externally, the piercing may appear fully healed by month four, but internally, the dermal tunnel is still stabilizing. Jewelry changes before month six are strongly discouraged unless performed by a professional using sterile instruments. During maturation, occasional minor irritation is normal after friction-heavy activities or prolonged sitting. The goal is gradual adaptation, not perfection. Full internal stability typically requires nine to twelve months, though some anatomies heal slightly faster. Tracking your personal timeline with a simple journal helps identify patterns and optimize care routines.

Essential Aftercare Protocol for Optimal Recovery
Clinical wound care principles dictate that cleanliness, moisture balance, and minimal interference yield the fastest, most complication-free results. Over-treating is just as harmful as neglect. The following evidence-based protocol aligns with recommendations from the American Academy of Family Physicians and professional dermatology guidelines for percutaneous wound management.
Daily Cleaning Routine Step-by-Step
- Wash your hands thoroughly with fragrance-free antibacterial soap for twenty seconds. Dry with a clean paper towel.
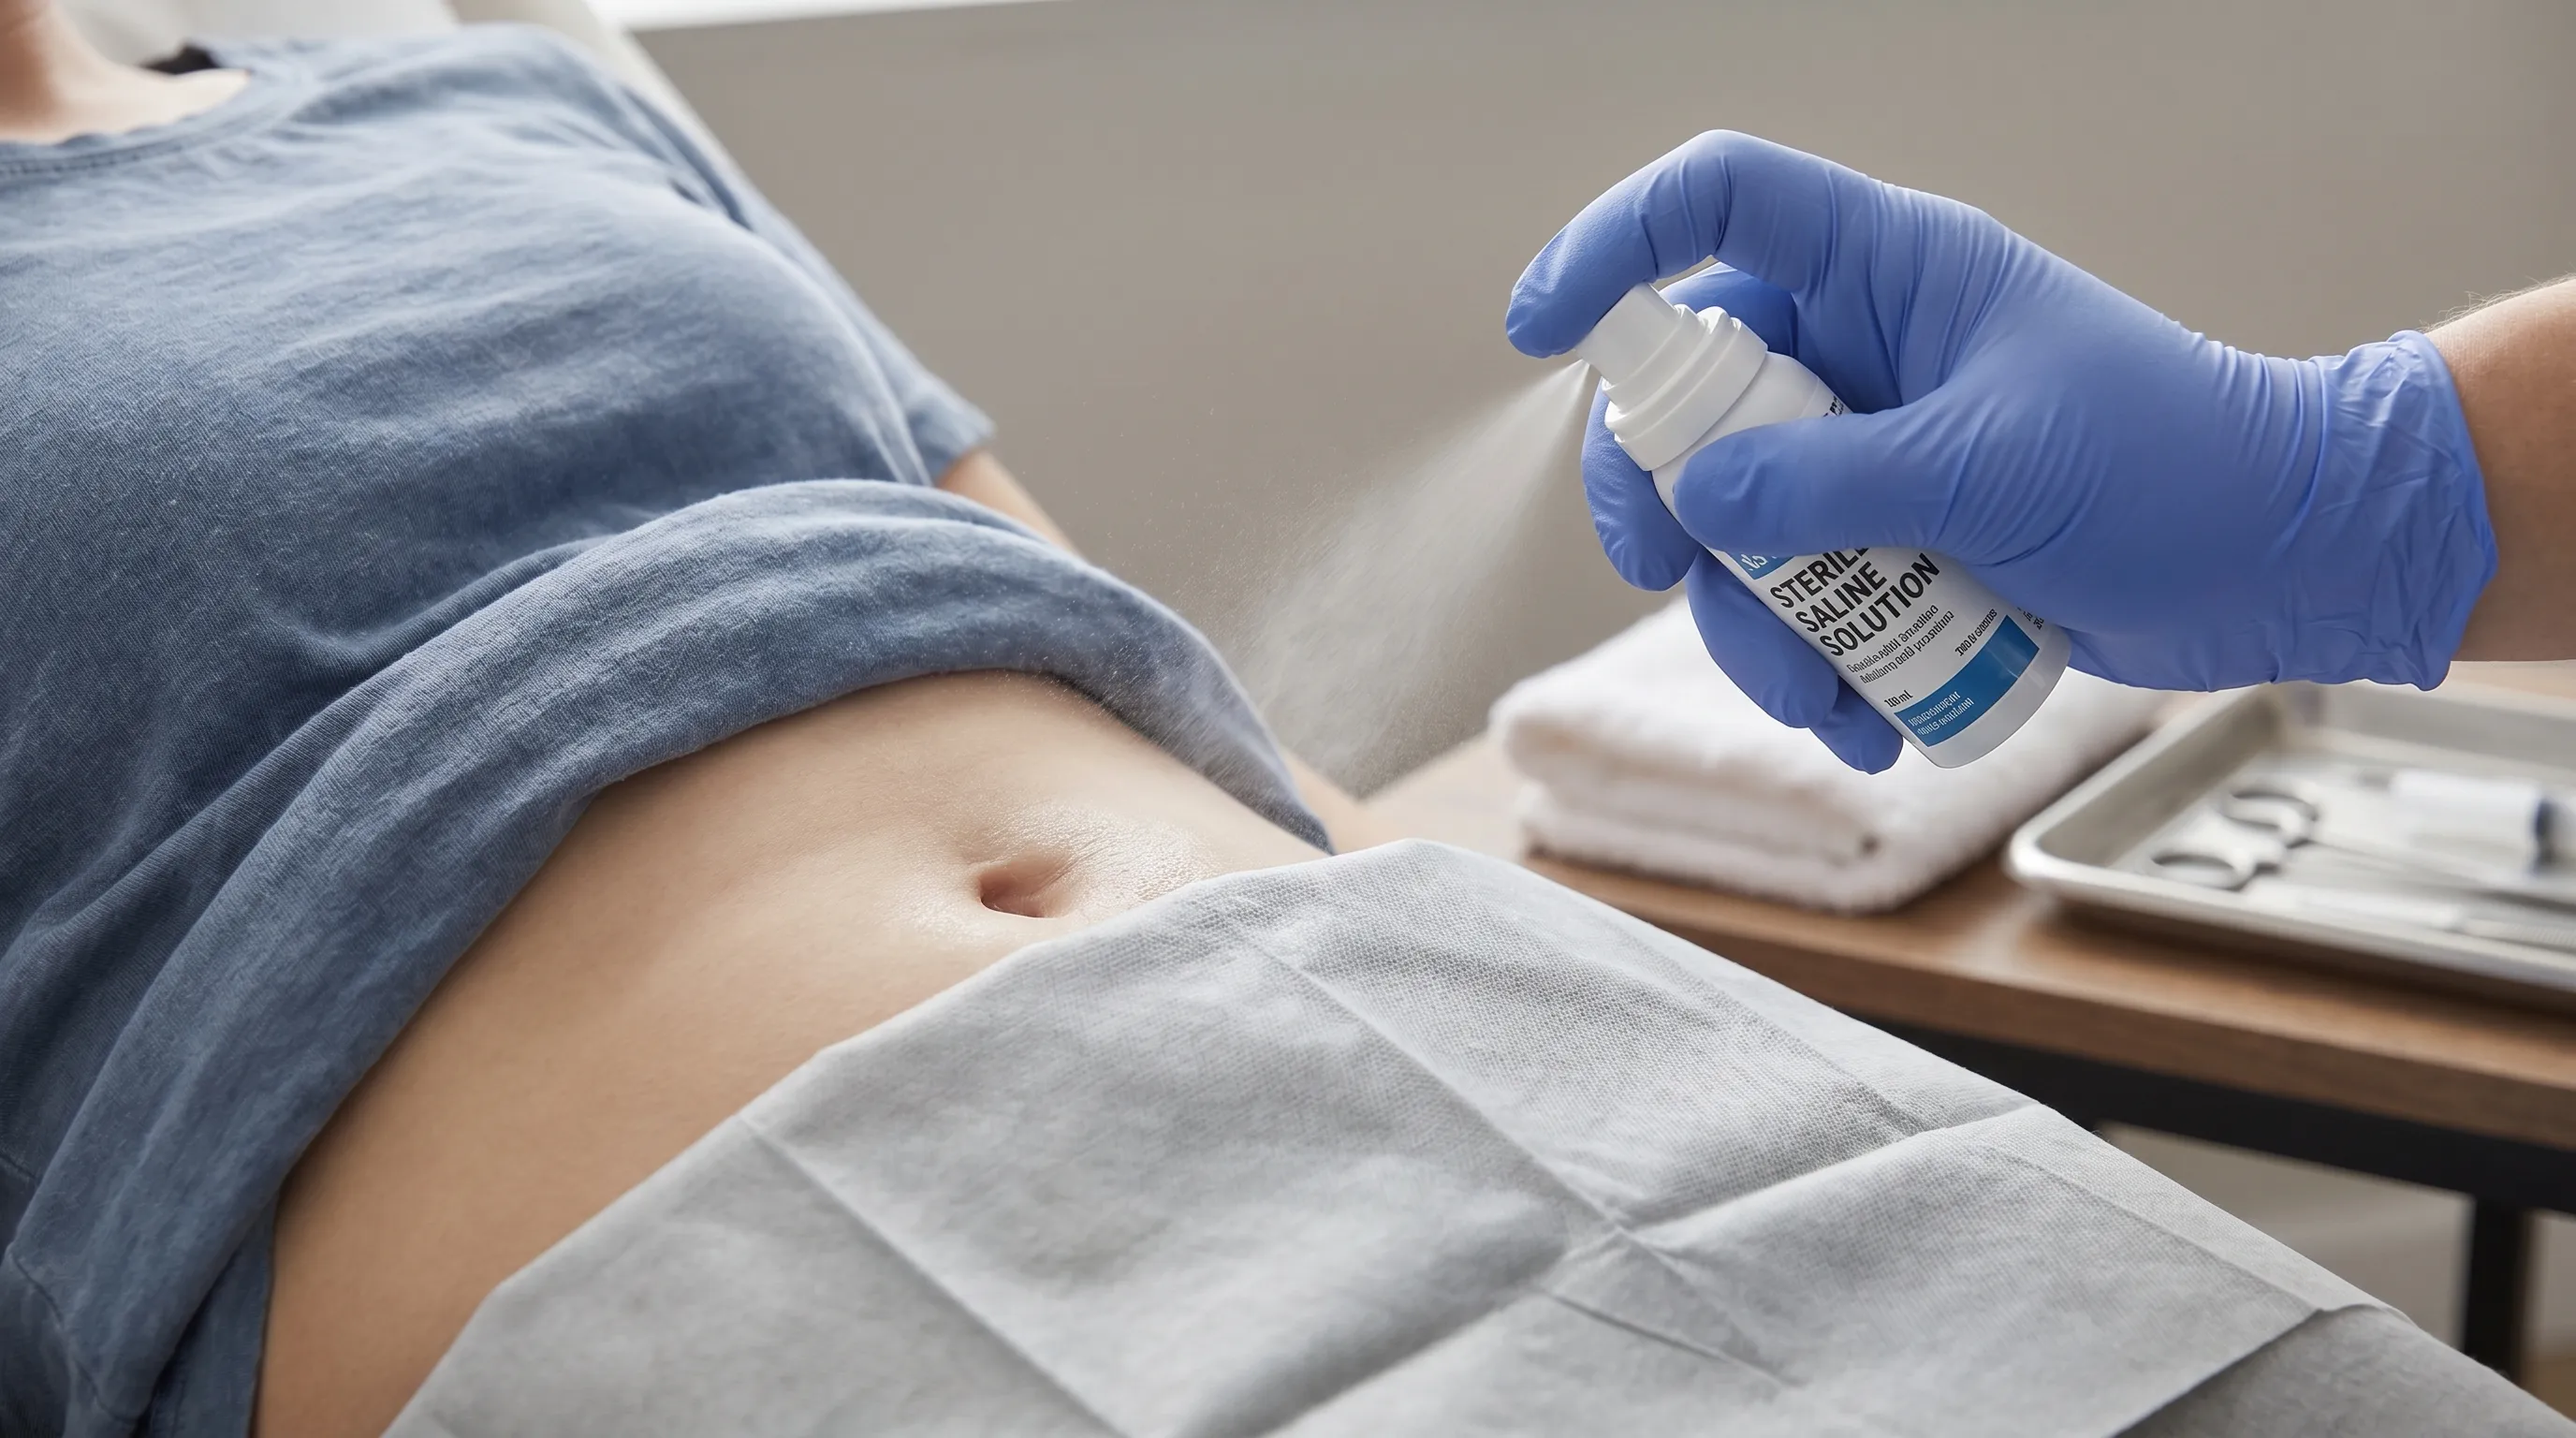
- Apply sterile 0.9% sodium chloride solution directly onto the piercing using a single-use spray bottle. Do not rub or rotate the jewelry.
- Allow the saline to sit for thirty to sixty seconds to loosen dried lymph and surface debris.
- Gently pat the area completely dry using a lint-free paper product. Moisture trapped against healing tissue creates an ideal environment for Staphylococcus and Candida species.
- Repeat this process exactly twice daily. Additional cleaning disrupts the natural microbiome and delays epithelialization.
- After showering, rinse the piercing with warm water to wash away soap residue, then dry immediately. Avoid letting shampoo or body wash pool in the navel cavity.
Recommended Saline Solutions vs. DIY Alternatives
Sterile, wound-wash saline labeled with no additives is the gold standard. It is isotonic, matching the body’s natural salt concentration, which means it cleanses without dehydrating healthy cells. Many DIY sea salt soaks cause osmotic stress, drawing moisture out of tissues and damaging fragile granulation tissue. Table salt contains iodine and anti-caking agents that trigger inflammatory responses and chemical burns. Commercial piercing aftercare sprays must list only purified water and sodium chloride. As noted by Mayo Clinic dermatology guidelines, avoid products containing benzalkonium chloride, witch hazel, tea tree oil, or alcohol, as these commonly cause contact dermatitis and delayed wound closure.
Drying Techniques and Why Moisture Control Matters
Moisture retention is the single greatest preventable risk factor for piercing complications. After cleansing or sweating, residual water creates a microenvironment where anaerobic bacteria thrive. Using hairdryers is tempting but dangerous, as high heat can burn sensitive healing tissue and cause jewelry expansion. Instead, use a cool setting from at least twelve inches away, or simply air-dry for five minutes before dressing. Always change out of sweaty clothing immediately after workouts, and store fresh paper towels in a clean, dry container to prevent cross-contamination. The CDC emphasizes that proper wound drying reduces infection rates by significantly disrupting bacterial colonization.
Navigating Common Healing Complications
Even with perfect aftercare, the body occasionally responds unpredictably. Differentiating between normal physiological reactions and pathological complications saves you from unnecessary panic or dangerous delays in seeking medical intervention.
Differentiating Normal Irritation from Infection
Normal irritation includes mild localized redness, slight swelling, tenderness when touched, and clear or pale yellow crusting. These symptoms fluctuate during the first three months and rarely interfere with daily activities. True infection presents with escalating pain that worsens after day five, expanding red streaks radiating outward, hot skin, foul-smelling thick discharge (green, gray, or pus-like), systemic fever, or swollen lymph nodes in the groin or abdomen. If you experience these signs, do not remove the jewelry prematurely, as this can trap infection inside the tissue, forming an abscess. Consult a licensed healthcare provider immediately for potential oral antibiotics, while continuing saline care to maintain drainage pathways.
Understanding Piercing Bumps and Hypertrophic Scarring
Red, raised bumps near the holes are frequently mislabeled as keloids, though true keloids are rare and genetically predisposed. Most bumps are either irritation fibromas or hypertrophic scars caused by friction, improper jewelry angles, allergic reactions, or excessive cleaning pressure. These typically respond well to conservative management: switching to a longer or properly sized implant-grade bar, eliminating all chemical irritants, and applying sterile saline consistently. If a bump persists beyond eight weeks, a piercer or dermatologist can assess for embedded jewelry or excessive tissue buildup. Never pop, squeeze, or apply aspirin paste to bumps, as this introduces bacteria and damages the healing matrix.
Migration, Rejection, and How to Prevent Them
The body does not recognize jewelry as self, and sometimes attempts to push it toward the surface. Early rejection signs include jewelry becoming visibly closer to the skin, thinning tissue, persistent shallow holes, and increased visibility of the bar. Navel piercings in high-friction zones or shallow anatomy are most vulnerable. Prevention starts with proper placement using a professional anatomical assessment, selecting appropriately weighted and sized jewelry, and avoiding trauma during healing. If migration exceeds three millimeters, removal is necessary to prevent catastrophic tearing. Early intervention preserves tissue integrity for potential future repiercing.
Lifestyle Modifications and Daily Care Adjustments
Your daily habits dramatically influence how quickly your belly piercing heals. Small adjustments reduce mechanical stress, prevent bacterial introduction, and create an optimal environment for cellular regeneration.
Clothing Choices That Protect the Piercing
High-waisted jeans, tight belts, and structured athletic wear exert direct pressure on the navel, compressing healing tissue and causing micro-tears. During the first three months, wear loose, breathable fabrics like cotton or bamboo with mid-rise or low-rise cuts that clear the jewelry entirely. Avoid synthetic materials that trap sweat and heat. If you must wear form-fitting clothing, use a soft, sterile gauze pad as a barrier, changing it daily to maintain ventilation. Sleepwear should be equally loose to prevent nocturnal snagging.
Sleep Positions and Bedding Hygiene
Stomach sleeping places sustained weight on the piercing, impeding blood flow and distorting jewelry alignment. Train yourself to sleep on your back or sides using body pillows for support. Wash bed linens weekly in hot water to eliminate dust mites, dead skin cells, and environmental bacteria. Consider a clean, breathable mattress protector if you struggle with night sweats. Changing into a fresh sleep shirt nightly further reduces microbial transfer during hours of unconscious friction.
Exercise, Swimming, and Water Exposure Guidelines
Moderate walking, light stretching, and low-impact cardio are generally safe after forty-eight hours. Avoid exercises that heavily engage the core, such as crunches, planks, heavy lifting, or contact sports, for at least four weeks, as these stretch the abdominal fascia and disrupt the fistula. When resuming workouts, wear moisture-wicking fabric and clean the area immediately post-session. The CDC strictly advises against swimming with open wounds until complete epithelialization. Pools, oceans, lakes, and hot tubs harbor Pseudomonas, Vibrio, and fungal pathogens that easily penetrate immature tissue. Waterproof bandages are ineffective and create trapped moisture. Wait for professional clearance before submersion.
Nutrition and Hydration for Faster Wound Closure
Cellular repair demands substantial metabolic resources. Protein provides amino acids for collagen synthesis; aim for 1.2 to 1.5 grams per kilogram of body weight daily. Vitamin C supports fibroblast function and capillary integrity, while zinc regulates immune response and cell division. Omega-3 fatty acids from fish oil or flaxseed reduce chronic inflammation. Hydration maintains blood volume, ensuring efficient nutrient delivery and waste removal. According to the National Institutes of Health (NIH), adequate micronutrient intake accelerates recovery by optimizing cellular proliferation. Limit alcohol and nicotine, as both constrict blood vessels, delay clot formation, and impair immune cell function. A balanced, anti-inflammatory diet accelerates recovery significantly in clinical wound literature.
| Healing Factor | Optimal Choice | Harmful Alternative | Why It Matters |
|---|---|---|---|
| Cleaning Solution | Sterile 0.9% saline spray | Homemade sea salt, alcohol, hydrogen peroxide | Maintains isotonic balance without damaging new tissue |
| Jewelry Material | ASTM F-136 titanium, 14k+ solid gold | Surgical steel, mystery alloys, plated metals | Prevents nickel leaching, allergic dermatitis, and corrosion |
| Clothing Fabric | Loose cotton, bamboo, modal | Tight synthetics, rough denim, high-waisted elastic | Reduces friction, moisture buildup, and pressure ischemia |
| Drying Method | Paper towel pat, cool air | Cotton swabs, dirty towels, hot hairdryers | Prevents fiber entrapment, thermal burns, and bacterial transfer |
| Activity Level | Light walking, gentle stretching | Core workouts, heavy lifting, swimming early | Protects fistula integrity, prevents micro-tears and pathogen exposure |
Jewelry Selection, Downsizing, and Long-Term Care
The metal you choose and when you change it dictate whether your piercing integrates smoothly or fails prematurely. Understanding metallurgy and professional sizing protocols is essential for long-term success.
Choosing Biocompatible Metals and Materials
Only implant-grade materials certified to international standards should contact healing tissue. ASTM F-136 titanium is the industry benchmark due to its complete biocompatibility, lightweight structure, and nickel-free composition. Niobium and 14k or 18k solid gold (nickel-free alloys) are acceptable alternatives. Avoid "surgical steel" as it is an unregulated marketing term often containing 10-12% nickel, which triggers Type IV hypersensitivity in up to fifteen percent of the population. Plated jewelry flakes during cleaning, exposing reactive base metals and causing sudden allergic flares. Always purchase from reputable suppliers who provide material certification upon request.
The Critical Timing of Your First Jewelry Change
Initial jewelry features a longer post (typically 10mm or 12mm) to accommodate swelling. Leaving it too long causes excessive movement, snagging, and migration. Downsizing too early disrupts the fragile epithelial seal. Most piercers recommend the first jewelry change between weeks six and ten, once initial swelling has stabilized and the channel has partially sealed. This appointment must be performed by a professional using sterilized instruments and single-use gloves. After downsizing to an 8mm bar, friction decreases significantly, accelerating the final maturation phase. Never change jewelry yourself before month six unless supervised by a certified practitioner.
Recognizing Allergic Reactions and Contact Dermatitis
Metal allergy symptoms mimic infection but lack systemic signs. Look for intense itching, flaking, bright red rash localized strictly to jewelry contact points, and persistent clear weeping that does not crust. If suspected, consult your piercer for a material swap. Topical steroid creams may be prescribed for severe dermatitis, but they should never replace jewelry changes, as steroids mask symptoms while tissue damage continues. The Cleveland Clinic notes that contact dermatitis requires both allergen removal and barrier repair to resolve fully. Documenting reactions with timestamps and photos helps dermatologists identify specific allergens through patch testing if needed.
Frequently Asked Questions
How long does a belly piercing take to fully heal?
Complete internal and external healing typically takes six to twelve months. While the exterior may appear settled after three to four months, the internal fistula requires extended time to stabilize. Avoid changing jewelry or engaging in high-friction activities until a professional confirms full maturity.
Can I swim with a healing belly piercing?
No. Pools, oceans, lakes, and hot tubs contain bacteria, parasites, and chemicals that easily penetrate immature tissue. Submersion should be avoided entirely for at least six months. Wait until your piercer confirms complete epithelialization before exposing the area to standing water.
What is the best way to clean my piercing during recovery?
Spray sterile 0.9% saline solution directly on the piercing twice daily, wait thirty seconds, and pat completely dry with a clean paper product. Avoid twisting, scrubbing, or using harsh chemicals. Consistency and moisture control are the most critical factors in preventing complications.
Why is my piercing still sore or crusty after several months?
Prolonged soreness often indicates mechanical friction from tight clothing, improper jewelry length, or occasional snagging. The navel moves constantly, so minor irritation is normal. Evaluate your wardrobe and aftercare routine, and consider a professional assessment to rule out migration or embedded jewelry.
When should I see a doctor for a potential piercing infection?
Seek immediate medical care if you notice spreading redness, hot skin, thick discolored discharge, swelling that worsens after five days, fever, or swollen lymph nodes. Do not remove the jewelry yourself, as this can trap bacteria and cause an abscess. Professional evaluation ensures proper antibiotic treatment while maintaining drainage.
Conclusion
Successfully navigating the healing process for a navel piercing requires a blend of patience, scientific understanding, and disciplined daily habits. The biological journey from initial trauma to complete fistula maturation spans many months, and rushing it inevitably invites complications that could have been prevented. By adhering to sterile saline protocols, selecting implant-grade materials, modifying clothing and sleep habits, and recognizing the difference between normal irritation and true pathology, you create the optimal environment for flawless recovery. Always prioritize professional guidance from certified piercers and licensed healthcare providers when uncertainties arise. Your diligence during this recovery window directly translates to decades of comfortable, complication-free body art. With informed aftercare and respectful patience, your piercing will integrate seamlessly, reflecting both personal style and disciplined self-care.
How we work
Researched and drafted with AI assistance, then reviewed by a human editor against the cited sources.
This article is general health information, not medical advice. Consult a qualified healthcare professional about your own situation.