Understanding an Evaporation Line on a Pregnancy Test: Causes, Identification & Next Steps

Taking a home pregnancy test is often one of the most emotionally charged moments in a person’s reproductive journey. Whether you are actively trying to conceive, carefully tracking fertility windows, or simply managing unexpected symptoms, the two lines that appear—or don’t appear—on a plastic strip can feel like a verdict on your immediate future. Yet, home testing technology, while remarkably reliable, is not entirely immune to interpretation errors. One of the most frequently misunderstood phenomena in at-home fertility screening is what clinicians and testing manufacturers refer to as an evaporation line on pregnancy test devices. This artifact can easily mimic a faint positive result, triggering unnecessary anxiety, premature celebrations, or repeated unnecessary testing. Understanding the biochemical and physical mechanics behind these misleading lines, recognizing the exact visual differences between true hCG detection and dye migration, and mastering proper testing protocols are essential skills for anyone navigating early pregnancy screening. This comprehensive guide will walk you through the science of lateral flow immunoassays, the environmental factors that distort results, and evidence-based strategies to ensure you read your test accurately. You will also find actionable troubleshooting steps, clinical recommendations, and advice to help you transition from uncertainty to clarity without compromising your peace of mind.
What Is an Evaporation Line on a Pregnancy Test?
An evaporation line on pregnancy test kits is not a sign of pregnancy, but rather a physical residue that appears when urine dries on the absorbent testing strip after the recommended reading timeframe has expired. These lines typically manifest as colorless, gray, or faint bluish streaks in the test result window, and they can be deeply confusing for individuals who are not familiar with the internal chemistry of diagnostic strips. Unlike a true positive, which develops due to a specific antigen-antibody reaction between the test’s reagent antibodies and human chorionic gonadotropin (hCG), an evaporation line is purely a byproduct of capillary action and moisture loss. When urine travels across the nitrocellulose or glass fiber membrane, it carries both the hCG molecules (if present) and the dissolved dye compounds. Once the liquid front passes, the remaining moisture slowly evaporates, leaving behind concentrated dye particles that can settle in the test line region. This drying process creates a faint, shadow-like streak that lacks the distinct color intensity and defined borders of a genuine positive result. Recognizing an evaporation line on pregnancy test materials is crucial for maintaining accurate self-monitoring and avoiding false assumptions during critical reproductive decision-making phases.
Free calculatorOvulation CalculatorCalculate ovulation periodOpen the calculatorHow Lateral Flow Assays Detect hCG
To fully grasp why these misleading artifacts occur, it is helpful to understand the underlying technology behind modern home pregnancy tests. The vast majority of over-the-counter diagnostic kits utilize a lateral flow immunoassay system. This technology relies on capillary action to draw urine across a series of treated pads containing immobilized antibodies, colored latex particles, or dye-labeled conjugates. When hCG is present in the sample, it binds to the labeled antibodies, and this complex continues to migrate until it reaches the test line zone, where immobilized capture antibodies trap the hCG-conjugate complex. As these trapped complexes accumulate, they create the visible colored line that users interpret as a positive result. The control line operates independently, utilizing antibodies that capture excess conjugate regardless of hCG presence, ensuring the test’s fluid pathway and chemical reactivity are functioning correctly. The entire process is designed to complete within a narrow window, usually between three to five minutes. Any line that appears outside this timeframe, especially if it lacks vibrant pigmentation, is highly likely to be an evaporation line on pregnancy test devices rather than a valid immunological response.
The Biochemical Mechanics Behind Dye Migration
The appearance of misleading streaks is heavily influenced by the physical properties of urine and the chemical composition of test strips. Urine contains urea, creatinine, salts, and various organic compounds that affect evaporation rates and surface tension. As the liquid evaporates, dissolved dye molecules concentrate and precipitate along the microscopic channels of the test strip. This phenomenon, known as solute deposition, can leave behind a faint, often slightly raised or textured line that catches light differently than a chemically bonded positive result. Additionally, environmental humidity, ambient temperature, and the angle at which the test is held during the waiting period can accelerate or alter drying patterns, making some strips more prone to artifact formation than others. Understanding that an evaporation line on pregnancy test strips is fundamentally a physical drying artifact, not a biological signal, empowers users to interpret results with clinical objectivity and avoid unnecessary emotional distress.
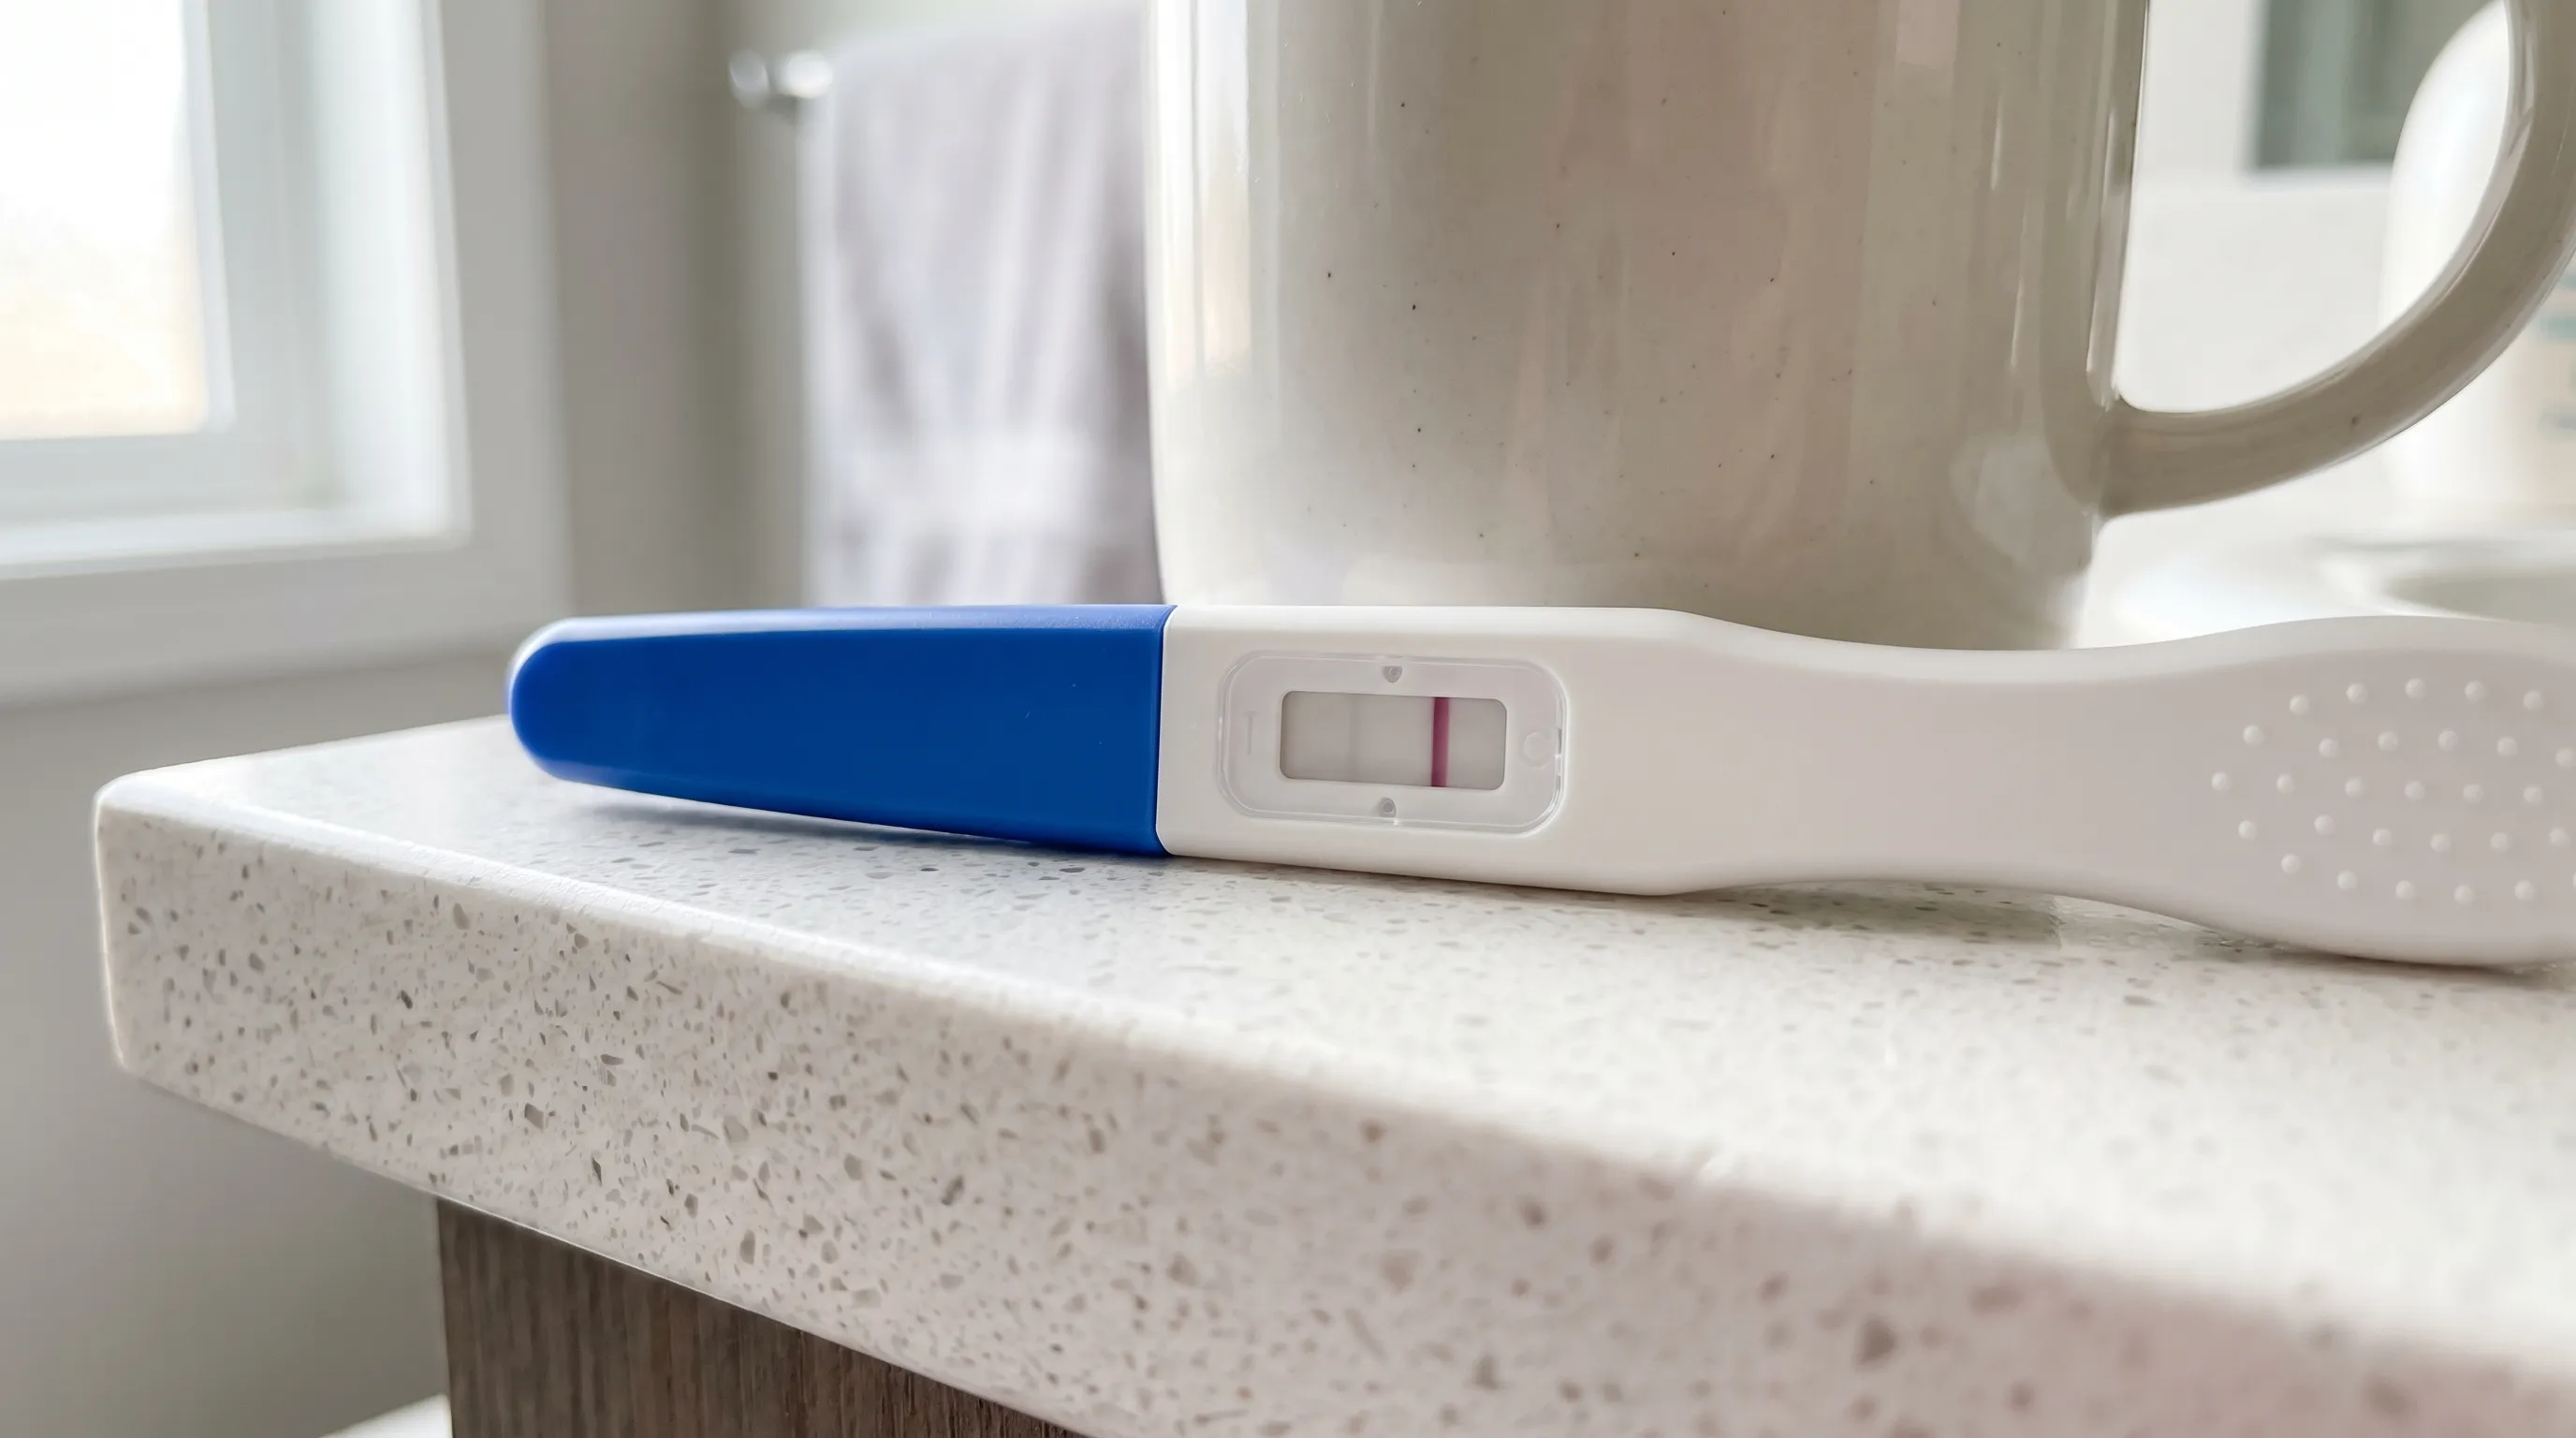
How to Spot an Evaporation Line on a Pregnancy Test
Identifying a false artifact requires a trained eye and strict adherence to timing protocols. The most reliable method to distinguish a genuine positive from an evaporation line on pregnancy test devices is to follow the manufacturer’s instructions precisely and evaluate the results only within the stated reading window. Most clinical guidelines emphasize that any line appearing after ten minutes should be discarded from consideration. Beyond timing, visual characteristics provide strong diagnostic clues that can help you differentiate between true hormone detection and moisture-related residue.
Timing and Reading Windows
The reading window is not a suggestion; it is a scientifically validated timeframe during which the chemical reaction reaches optimal visibility and stability. Reading too early may yield false negatives due to incomplete antibody binding, while reading too late opens the door to evaporation line formation. Urine left on a test strip continues to interact with the absorbent matrix, and as moisture dissipates, residual dye migrates into the test region. Clinicians at reproductive health centers consistently advise setting a timer immediately after applying the sample. Once the timer expires, photograph the result if documentation is needed for tracking or clinical review, but do not leave the strip unattended for hours. An evaporation line on pregnancy test kits almost universally develops after the five- to ten-minute mark, making strict time management the single most effective safeguard against misinterpretation.
Color, Appearance, and Placement
True positive lines exhibit consistent pigmentation matching the control line, typically pink, blue, or red depending on the brand’s dye formulation. They appear smooth, evenly saturated, and sharply defined against the white background of the test window. In contrast, an evaporation line on pregnancy test devices usually appears as a faint gray, silver, or transparent streak with uneven edges. It may look slightly raised, textured, or blurred, and often reflects light differently due to dried crystalline deposits. Some users describe it as a "ghost line" or a "shadow," which accurately captures its visual ambiguity. Placement is another reliable indicator: genuine test lines develop exactly where the manufacturer designated the result zone, while evaporation artifacts may appear slightly offset, stretched, or irregularly shaped. By focusing on color intensity, border definition, and anatomical alignment with the printed result zone, you can confidently identify whether you are looking at a valid detection or a drying artifact.
Common Causes and Contributing Factors
While understanding the visual and timing differences is essential, recognizing the underlying triggers that increase the likelihood of artifact formation can help you optimize your testing environment and reduce the frequency of confusing results. Multiple variables interact to produce these misleading streaks, ranging from manufacturing variations to user handling and physiological factors.
Test Sensitivity, Manufacturing Variables, and Expiration Dates
Not all home testing kits are created equal. Tests with higher hCG sensitivity thresholds (typically 10 to 20 mIU/mL) are engineered for earlier detection but often use more concentrated dye solutions that can leave heavier residues if allowed to dry. Manufacturing inconsistencies, such as uneven reagent coating or slight variations in membrane porosity, can also accelerate localized dye pooling. Additionally, using expired tests significantly increases the risk of evaporation artifacts. Expired kits may contain degraded chemical reagents that react unpredictably to moisture loss, or the absorbent membrane may become overly porous, allowing urine to spread unevenly and dry in patchy patterns. Always check the expiration date, store tests in climate-controlled environments, and avoid purchasing kits from bulk bins exposed to temperature fluctuations.
Environmental Conditions, Storage, and Handling Errors
The physical environment plays a surprisingly large role in test accuracy. High humidity slows evaporation but can cause re-swelling of dried test strips, leading to delayed or smeared results. Low humidity and direct airflow accelerate moisture loss, rapidly concentrating dye residues and increasing the likelihood of an evaporation line on pregnancy test strips. Handling errors, such as touching the absorbent tip with bare fingers, laying the test on uneven surfaces, or exposing it to steam from a shower, can introduce contaminants or disrupt capillary flow. Always place tests on flat, clean, dry surfaces, avoid blowing on them, and keep them away from open windows or HVAC vents during the waiting period. Proper handling ensures that fluid migration occurs uniformly, minimizing the risk of localized dye deposition that mimics a positive result.
Urine Concentration and Testing Timing
The chemical composition of your urine directly impacts how the test strip processes the sample. Highly diluted urine, resulting from excessive fluid intake prior to testing, reduces hCG concentration and extends the drying phase, giving residual dyes more time to settle in the test window. Conversely, highly concentrated urine may contain elevated levels of salts and urea that crystallize during evaporation, creating faint streaks that resemble positive lines. The first-morning urine generally provides the optimal balance of hormone concentration and solute stability. If you must test later in the day, limit fluid intake for two to three hours beforehand and avoid diuretics like caffeine. Monitoring hydration and testing at consistent times reduces variability and helps you distinguish between true biological signals and physical drying artifacts.
Evaporation Line vs Positive Line: Key Differences
Differentiating between a true positive and a drying artifact requires systematic observation and a clear understanding of how each develops. The following comparison outlines the primary distinctions that clinicians and diagnostic experts use to evaluate ambiguous home testing results.
| Feature | True Positive Result | Evaporation Line on Pregnancy Test |
|---|---|---|
| Onset Time | Develops within 3-5 minutes | Appears after 10+ minutes |
| Color Profile | Matches control line dye (pink/blue/red) | Faint gray, silver, or colorless |
| Border Definition | Sharp, even, clearly defined edges | Blurry, uneven, or stretched appearance |
| Light Reflection | Flat, uniform pigment absorption | Slightly raised or shiny due to dried residue |
| Reproducibility | Reappears consistently with retesting | Varies or disappears in subsequent tests |
| Clinical Validation | Correlates with rising hCG in blood work | Does not correlate with serum hCG levels |
Step-by-Step Differentiation Protocol
To apply these distinctions effectively, follow a structured evaluation process. First, set a digital timer for exactly three to five minutes after completing the test. Do not glance at the result during this waiting period, as premature checking can trigger confirmation bias. Once the timer expires, examine the test under bright, natural lighting. If a line is present, compare its hue directly to the control line. True positives will exhibit identical saturation levels and uniform width. Next, tilt the test slightly to observe surface texture; dried residues often reflect light differently, creating a subtle glossy or textured appearance that true chemical bonds lack. Finally, document the result with a timestamped photograph and discard the strip immediately. If uncertainty persists, schedule a quantitative serum hCG test through a licensed healthcare provider. Blood work measures exact hormone concentrations, eliminating the guesswork associated with visual strip interpretation and providing definitive clinical confirmation.

Actionable Steps to Avoid Misreading Results
Preventing confusion begins before you even open the test package. Implementing evidence-based testing protocols minimizes the variables that contribute to artifact formation and ensures that every result you read reflects true biological activity rather than physical drying patterns.
Best Practices for Accurate Home Testing
Start by reading the manufacturer’s instructions thoroughly, even if you have used similar kits before. Each brand utilizes slightly different antibody configurations, dye chemistries, and membrane structures that require specific handling techniques. Use clean, dry containers if collecting a midstream sample, or follow the recommended urine stream duration for direct testing. Avoid touching the absorbent window or laying the test face-up on wet surfaces. Place the strip on a flat, lint-free towel or paper product, and immediately start your timer. Keep the testing environment stable; avoid extreme temperatures, drafts, or high humidity. If you need to document results for personal tracking, use natural daylight and consistent camera angles to reduce optical distortion. These seemingly minor adjustments dramatically reduce the frequency of an evaporation line on pregnancy test evaluations and improve overall testing reliability.
When to Retest and How to Proceed Safely
If you observe a faint or ambiguous line outside the recommended window, resist the urge to test again immediately. Testing multiple times within a short timeframe does not allow hCG levels to accumulate and often leads to repeated artifact exposure. Instead, wait 48 to 72 hours before repeating the evaluation. During this waiting period, maintain normal hydration, avoid excessive diuretics, and continue tracking any associated symptoms such as mild cramping, breast tenderness, or changes in basal body temperature. When you retest, consider switching to a digital format to eliminate visual interpretation entirely. If the second test still yields unclear results, transition to a clinical blood draw. Quantitative hCG testing provides precise hormone measurements and tracks doubling rates, offering medically validated insight that home strips cannot replicate.
Digital Tests and Alternative Monitoring Methods
For individuals who consistently struggle with line interpretation or experience heightened anxiety during the testing process, digital pregnancy tests offer a highly effective alternative. These devices contain internal photometric sensors that analyze the test strip chemically and display a clear, text-based result on an electronic screen. Because the interpretation is automated, users cannot accidentally misread a drying streak as a positive outcome. Additionally, integrating symptom tracking applications with basal body temperature monitoring and ovulation predictor kits can provide a broader physiological context that reduces reliance on single-test interpretations. Combining multiple data points creates a more comprehensive fertility picture and helps you recognize patterns that align with true pregnancy development rather than isolated testing artifacts.
When to Consult a Healthcare Provider
While home testing kits are invaluable screening tools, they are not diagnostic instruments. Recognizing the limitations of at-home evaluation and knowing when to transition to professional clinical guidance is a cornerstone of responsible reproductive healthcare. Persistent uncertainty, recurring ambiguous results, or symptoms that do not align with testing outcomes warrant prompt medical evaluation.
Clinical Confirmation and Blood Testing
A quantitative serum hCG test is the gold standard for early pregnancy confirmation. Unlike qualitative urine strips, which simply detect the presence or absence of hormone thresholds, blood tests measure exact milliliters per milliunit (mIU/mL) concentrations and track doubling trajectories over 48-hour intervals. Clinicians typically consider levels above 25 mIU/mL as indicative of early pregnancy, though optimal confirmation relies on consistent upward progression rather than a single reading. If you have experienced multiple unclear evaporation line on pregnancy test results alongside symptoms like persistent nausea, pelvic discomfort, or missed menses, request a serum hCG draw and a transvaginal ultrasound if gestational age permits. These clinical tools eliminate ambiguity and provide actionable medical data tailored to your reproductive status.
Navigating Fertility Journeys and Next Steps
If you are actively trying to conceive, navigating false positives and testing artifacts can be emotionally taxing. Consider scheduling a preconception counseling session to review your cycle regularity, hormone baselines, and testing protocols. Reproductive endocrinologists can help identify underlying factors that may affect implantation or hormone production, such as thyroid dysfunction, prolactin elevation, or polycystic ovary syndrome (PCOS). Integrating lifestyle modifications, including balanced nutrition, stress management techniques, and targeted supplementation, alongside professional monitoring creates a supportive framework for fertility success. Remember that an evaporation line on pregnancy test devices does not reflect your reproductive potential; it merely indicates a physical drying process that can be managed with proper technique and clinical oversight.
Frequently Asked Questions
Can an evaporation line on pregnancy test be a true positive?
No, an evaporation line on pregnancy test strips does not indicate pregnancy. It is a physical drying artifact that occurs when residual dye settles in the result window after the manufacturer’s recommended reading timeframe has expired. True positives develop through a specific biochemical reaction between immobilized antibodies and hCG, producing distinct, evenly pigmented lines within the validated testing window. Always discard tests that display results after ten minutes.
How long should I wait before discarding a pregnancy test?
Most clinical guidelines and testing manufacturers recommend discarding home pregnancy tests immediately after the 5- to 10-minute reading window closes. Leaving a test exposed beyond this timeframe allows urine moisture to evaporate, causing dissolved dye particles to concentrate and settle in the result zone. This drying process creates faint gray or colorless streaks that are medically irrelevant. Set a timer, evaluate within the specified window, and dispose of the strip promptly to maintain accuracy.
Do digital pregnancy tests show evaporation lines?
Digital pregnancy tests are specifically designed to prevent visual misinterpretation by utilizing internal photometric sensors that analyze the chemical strip and display a clear text-based result. Because the microprocessor handles result interpretation, users never need to visually evaluate dye migration patterns. This technology completely eliminates the risk of confusing a drying streak with a positive outcome, making digital kits an excellent option for individuals prone to testing anxiety or ambiguous line readings.
What is the most reliable time of day to take a pregnancy test?
First-morning urine provides the highest concentration of hCG and the most stable solute profile for early detection. Overnight fluid restriction naturally concentrates hormone levels, increasing the likelihood of clear, rapid line development if you are pregnant. If you must test later in the day, hold urine for at least two to three hours and avoid consuming large volumes of water or caffeine beforehand. Consistent testing timing improves reliability and reduces variables that contribute to unclear results.
How soon after a missed period should I retest if I see a questionable line?
If you observe an ambiguous or faint line outside the recommended reading window, wait at least 48 to 72 hours before retesting. Viable early pregnancies typically exhibit hCG doubling patterns every 48 hours, so waiting allows hormone levels to rise sufficiently to produce a clear, unambiguous result if conception has occurred. Testing too frequently without allowing for biological hormone accumulation often leads to repeated exposure to evaporation line on pregnancy test materials and increases unnecessary stress.
Conclusion
Navigating the early stages of pregnancy screening requires patience, precision, and a clear understanding of how diagnostic technology functions. Recognizing that an evaporation line on pregnancy test devices is a predictable physical drying artifact, not a biological signal, empowers you to interpret results with clinical confidence and protect your emotional well-being. By adhering strictly to manufacturer timing windows, optimizing your testing environment, utilizing digital alternatives when appropriate, and transitioning to serum hCG evaluation when ambiguity persists, you can eliminate guesswork and make informed decisions about your reproductive health. Trust validated protocols, prioritize consistent hydration and timing, and lean on licensed healthcare providers for definitive confirmation. With the right approach and evidence-based practices, home testing becomes a reliable, empowering tool rather than a source of unnecessary stress. Whether you are tracking fertility, managing symptoms, or simply seeking clarity, applying these structured strategies ensures that every result you evaluate reflects true physiology rather than surface-level moisture patterns.
For additional clinical guidance and evidence-based fertility resources, visit the American College of Obstetricians and Gynecologists (ACOG) or review comprehensive testing protocols at the Mayo Clinic. Always consult a licensed healthcare provider for personalized medical advice and diagnostic confirmation.
How we work
Researched and drafted with AI assistance, then reviewed by a human editor against the cited sources.
This article is general health information, not medical advice. Consult a qualified healthcare professional about your own situation.