Exercises for Trigger Thumb: A Complete Evidence-Based Guide to Relief and Recovery

Key points
- Use utensils with larger, cushioned handles to distribute pressure across the palm rather than concentrating it on the thumb joint.
- Switch to voice-to-text typing, speech recognition software, or ergonomic keyboards to reduce prolonged smartphone scrolling.
- Utilize jar openers, lever-style door handles, and push-plate light switches to minimize forceful gripping.
- Take micro-breaks every thirty minutes during repetitive tasks, performing two minutes of gentle gliding to reset tendon lubrication.
- Alternate dominant and non-dominant hands for carrying bags, holding objects, or operating machinery when possible.
If you have ever experienced a sudden catch, painful snap, or stubborn lock at the base of your thumb, you know exactly how disruptive trigger thumb can be. What begins as mild morning stiffness often progresses into a frustrating cycle of clicking, aching, and reduced grip strength that interferes with everyday tasks. While it is tempting to simply push through the discomfort, research consistently shows that targeted, evidence-based movement is one of the most effective ways to break the inflammation cycle and restore smooth tendon mechanics. Exercises for trigger thumb are not just about stretching tight muscles; they are carefully sequenced movements designed to reduce friction, improve synovial fluid circulation, and retrain the flexor-pulley system to glide effortlessly again. Whether you are in the early stages of diagnosis, recovering from conservative care, or looking for a structured self-management protocol, understanding the biomechanics behind your symptoms is the first step toward lasting relief. By integrating gentle mobilization, progressive tendon gliding, and ergonomic habit adjustments, you can significantly reduce pain, prevent chronic stiffness, and regain full functional use of your hand. This comprehensive guide breaks down exactly how trigger thumb develops, which therapeutic movements deliver the best clinical outcomes, and how to safely implement a daily routine that supports long-term joint health without risking further irritation.
Understanding Trigger Thumb: Anatomy, Mechanisms, and Clinical Presentation
To fully appreciate why exercises for trigger thumb are so effective, it is essential to understand the underlying anatomy that becomes compromised during the condition. The thumb, unlike the other four digits, operates with a unique combination of mobility and precision that requires coordinated function between multiple tendons, pulleys, and joint capsules. The flexor pollicis longus (FPL) tendon runs along the palmar side of the thumb, passing through a specialized fibro-osseous tunnel known as the A1 pulley. This pulley acts as a natural retaining strap, keeping the tendon snug against the bone during flexion and preventing bowstringing. In a healthy hand, the tendon moves smoothly back and forth within a lubricated synovial sheath, facilitated by tenocytes and hyaluronic-rich fluid that minimize friction.
Free calculatorBMI CalculatorCalculate Body Mass IndexOpen the calculatorWhen repetitive gripping, forceful pinching, or sustained vibration overworks the tendon, microscopic inflammation develops. The synovial lining thickens, forming a localized swelling often referred to as a nodule. As this nodule grows, it struggles to slide through the rigid A1 pulley ring, creating that characteristic catching sensation. If left unaddressed, the tendon can become temporarily or permanently stuck in a flexed position, sometimes requiring manual assistance from the opposite hand to straighten. Medical literature classifies trigger thumb progression into three distinct stages: Grade 1 involves localized pain and tenderness at the base without mechanical locking, Grade 2 features audible or palpable clicking during active motion, and Grade 3 presents with fixed flexion deformities that may require splinting or procedural intervention. Understanding where your symptoms fall on this spectrum helps determine which exercises for trigger thumb will provide the most benefit at your current stage.
Common Risk Factors and Underlying Contributors
Certain populations are statistically more susceptible to developing this condition. Women over the age of forty are frequently affected, partly due to hormonal influences on connective tissue elasticity and higher rates of repetitive domestic and caregiving tasks. Individuals with diabetes, rheumatoid arthritis, gout, or hypothyroidism experience elevated baseline inflammation that accelerates tendon thickening and pulley compression. Occupational factors play a substantial role as well; musicians, manual laborers, dentists, and professionals who use handheld tools for extended periods frequently report early-onset stiffness. Even modern lifestyle habits, such as prolonged smartphone scrolling or excessive gaming controller use, have been clinically linked to digital tendon strain. Recognizing these contributing factors is crucial because successful rehabilitation requires addressing both the localized mechanical issue and the systemic or environmental triggers that perpetuate the cycle.
Diagnostic Confirmation and When to Seek Professional Care
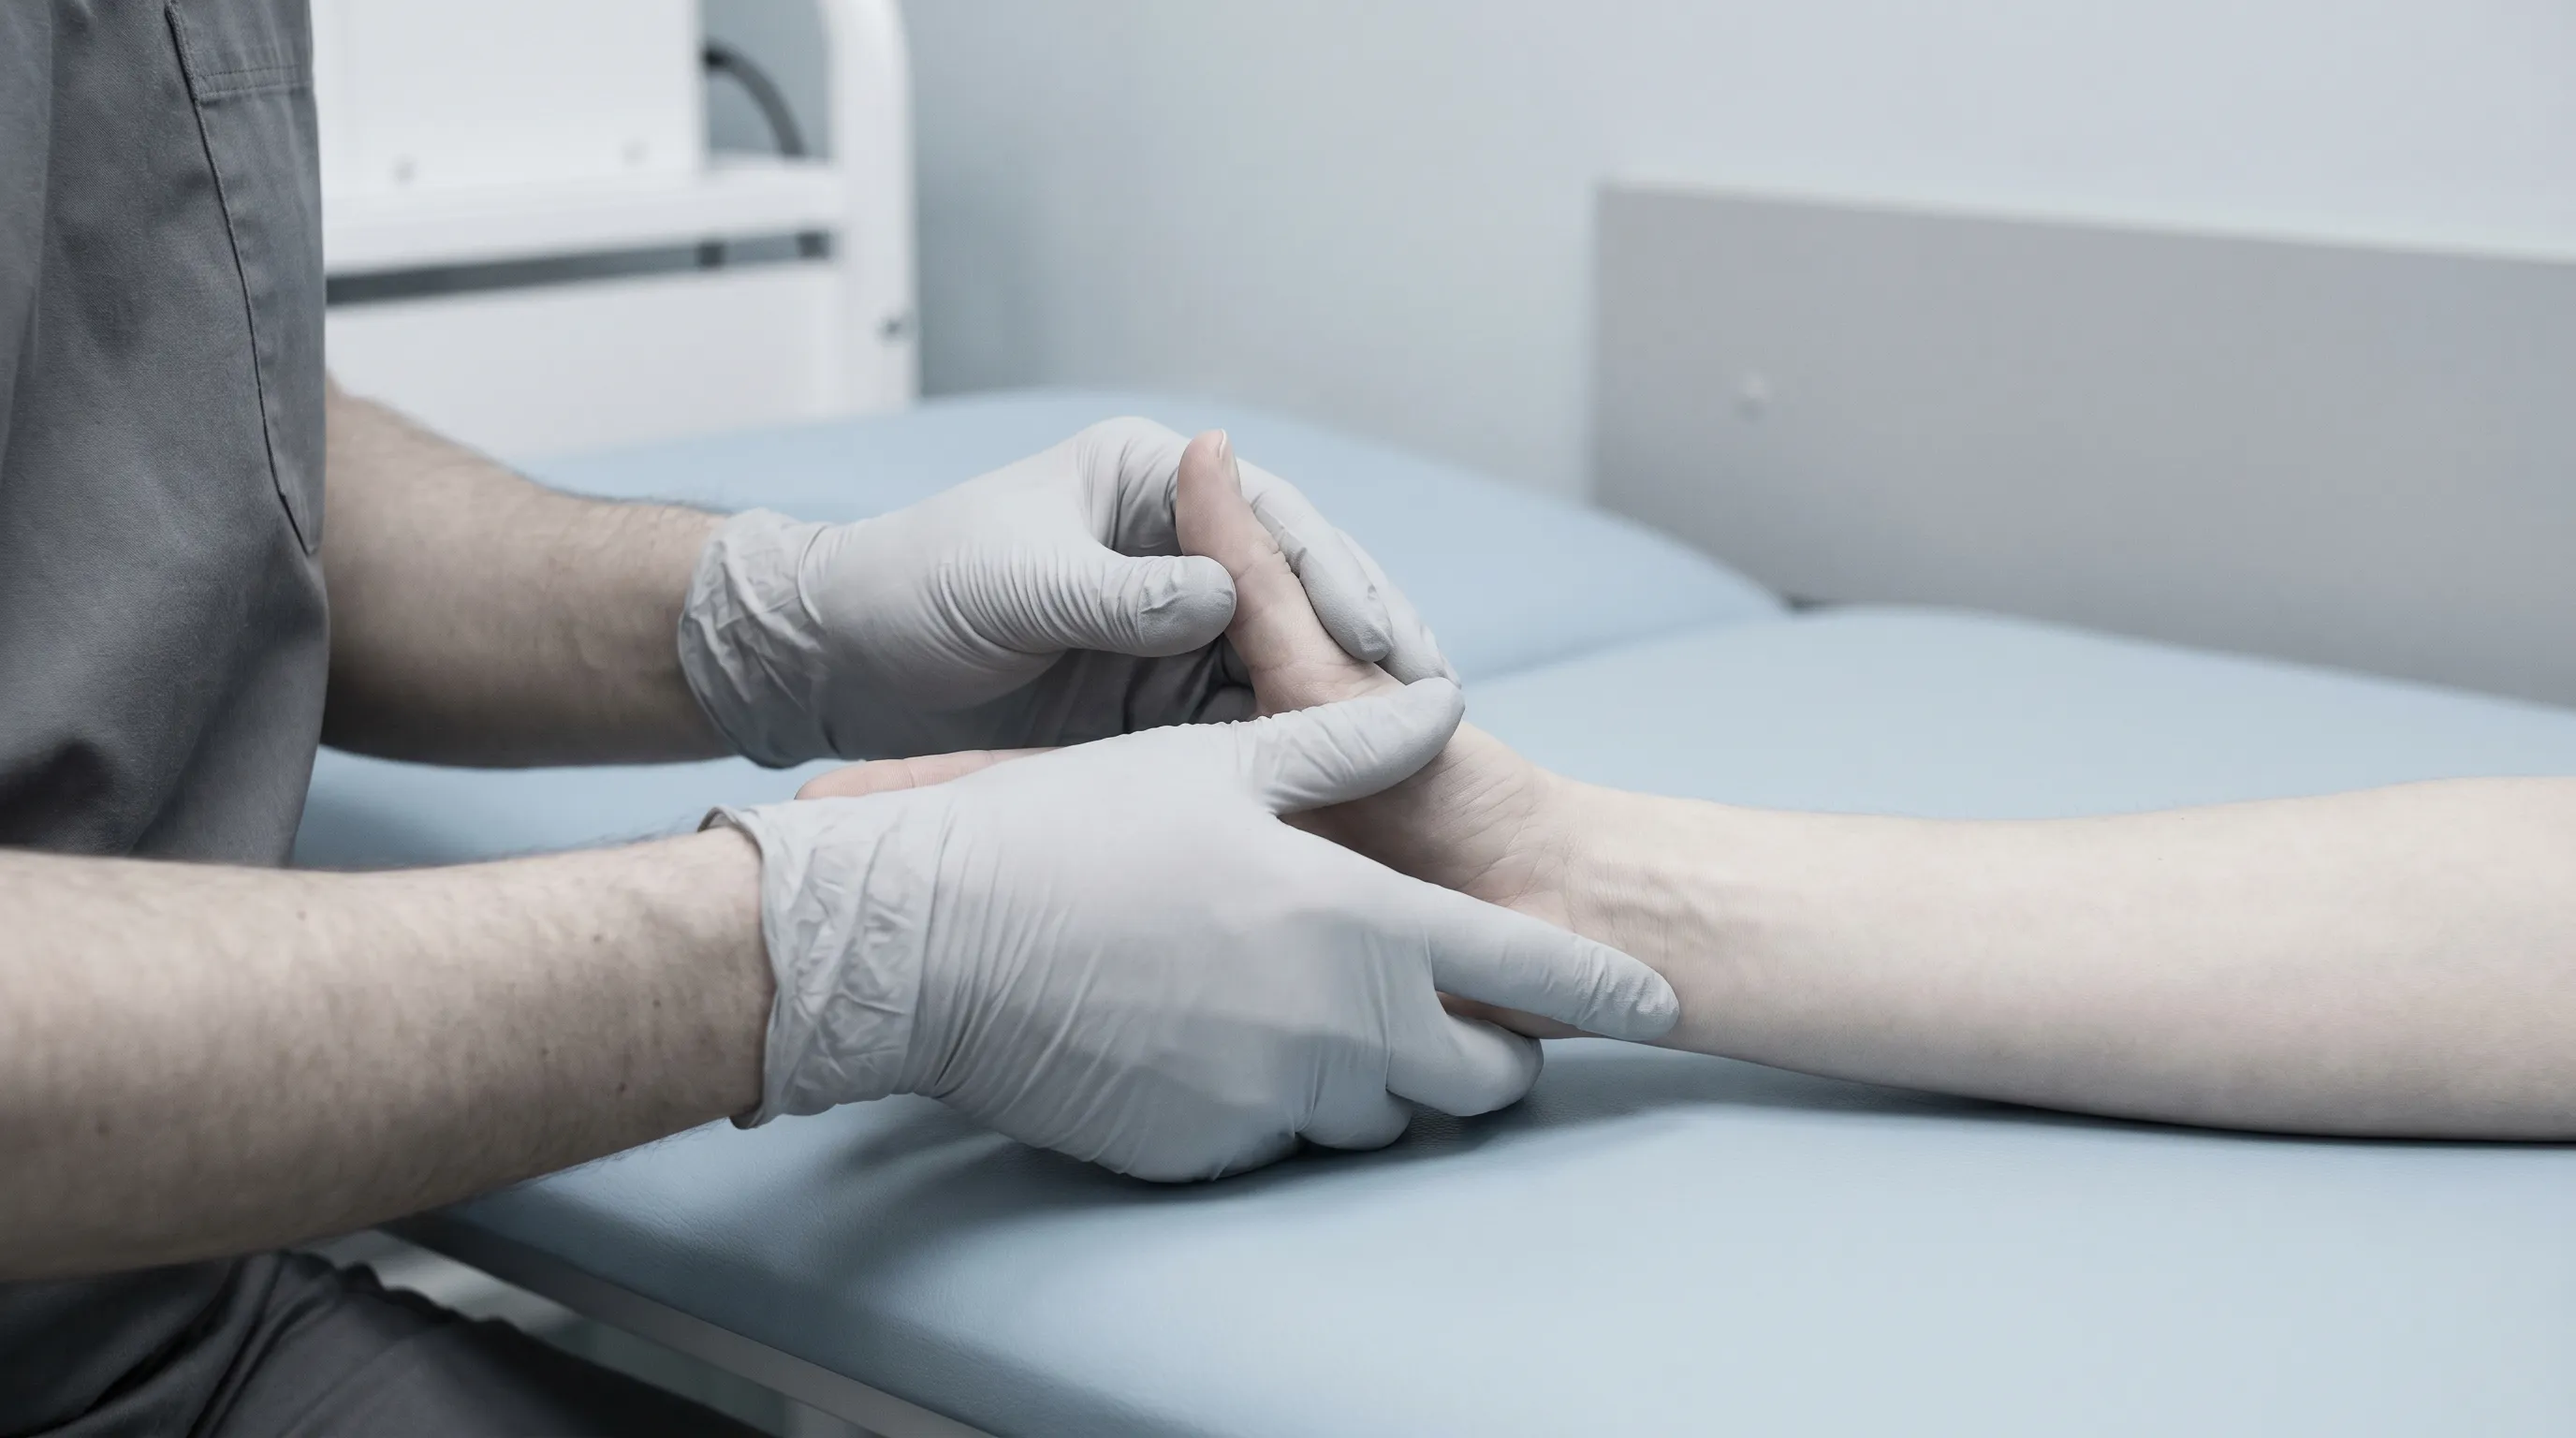
While trigger thumb is primarily diagnosed through clinical history and physical examination, healthcare providers may use ultrasound or dynamic imaging to evaluate tendon thickness, sheath effusion, and pulley integrity. Palpation typically reveals a tender, pea-sized nodule at the metacarpophalangeal crease, with reproduction of symptoms during active flexion-extension testing. If you experience persistent locking, radiating pain into the forearm, numbness suggesting concurrent nerve compression, or sudden loss of thumb function, prompt medical evaluation is strongly advised. Early intervention significantly improves outcomes, and conservative protocols involving targeted exercises for trigger thumb are overwhelmingly recommended as first-line therapy before considering injections or surgical release.
The Science Behind Exercises for Trigger Thumb
Conservative management of trigger thumb is grounded in well-established biomechanical and physiological principles. The primary objective of any therapeutic protocol is to reduce localized inflammation, restore normal tendon excursion, and prevent adhesion formation between the synovial sheath and the fibrous pulley system. When the tendon remains inflamed, the body responds by depositing excess collagen fibers that further narrow the available gliding space. Gentle, repetitive motion stimulates fibroblast activity, encourages the production of lubricating glycosaminoglycans, and promotes organized collagen remodeling rather than chaotic scar tissue accumulation. This biological process explains why carefully prescribed exercises for trigger thumb consistently outperform complete immobilization, which tends to stiffen the joint and worsen tendon adhesions.
Tendon Gliding and Synovial Fluid Dynamics
One of the most clinically validated mechanisms behind symptom resolution involves dynamic tendon gliding. Each time the thumb moves through a controlled range of motion, the flexor tendon pumps synovial fluid forward and backward within the sheath. This fluid acts as a biological lubricant, reducing coefficient friction and washing away inflammatory mediators like prostaglandins and cytokines. Research published in the Journal of Hand Therapy demonstrates that sequential gliding exercises improve tendon excursion by up to thirty percent over eight weeks when performed consistently. The rhythmic compression and decompression of the sheath also stimulate mechanotransduction pathways, signaling tenocytes to downregulate inflammatory gene expression and upregulate tissue repair proteins.
Neuroplasticity and Pain Modulation Through Movement
Beyond tissue mechanics, movement plays a critical role in modulating pain perception. Chronic localized stiffness often triggers central sensitization, where the nervous system amplifies normal signals and interprets harmless motion as threatening. Gradual exposure to pain-free thumb exercises recalibrates nociceptive thresholds, reducing protective muscle guarding and improving motor control. Controlled stretching also stimulates proprioceptive nerve endings, enhancing joint position awareness and reducing the likelihood of compensatory movement patterns that strain adjacent digits or the wrist. This neurological benefit is frequently overlooked but is a cornerstone of modern hand rehabilitation.
Evidence-Based Success Rates and Conservative Management
Clinical studies consistently show that approximately sixty to eighty percent of patients with mild to moderate trigger thumb achieve complete symptom resolution through conservative management alone. A systematic review by the Cochrane Collaboration highlights that structured exercise programs, when combined with ergonomic modification and occasional splinting, yield significantly higher long-term success rates compared to rest or passive modalities alone. The key differentiator between success and failure lies in exercise selection, progression pacing, and adherence to symptom-guided dosing. Exercises that respect tissue tolerance while progressively challenging mobility consistently deliver the best functional outcomes.
Step-by-Step Guide to the Best Exercises for Trigger Thumb
Implementing exercises for trigger thumb requires precision, patience, and a clear understanding of proper form. Each movement should be performed slowly, without bouncing or forcing the joint past mild resistance. Pain should never exceed a three out of ten on the numeric rating scale, and any sharp or shooting sensations indicate the need to modify the range or intensity. Below is a comprehensive breakdown of the most effective therapeutic movements, complete with execution guidelines, modifications, and progression strategies.
Thumb Flexion and Extension Range-of-Motion Drills
This foundational exercise restores baseline joint mobility and gently mobilizes the metacarpophalangeal and interphalangeal joints without excessive pulley compression.
- Begin with your hand resting comfortably on a table, palm facing up and thumb extended alongside the fingers.
- Slowly bend the thumb across your palm, aiming to touch the base of your little finger.
- Hold this flexed position for three to five seconds while breathing steadily.
- Gradually return the thumb to a fully straightened, extended position, opening it away from the palm as far as comfortable.
- Hold the extended position for three seconds to counteract the flexion bias.
- Repeat this sequence ten times per session, performing three to four sessions daily.
If you experience clicking during the motion, reduce the range to the pain-free zone and focus on smooth, continuous movement. As stiffness decreases, you can gently apply light pressure with the opposite hand to assist the stretch at the end range. This drill is particularly effective when performed after a warm compress or warm water soak, which increases tissue elasticity.
Progressive Tendon Gliding Sequences
Tendon gliding targets the full anatomical pathway of the flexor tendon, minimizing friction while maximizing synovial circulation.
- Start with your hand open, fingers and thumb fully extended.
- Make a hook fist: curl only the distal interphalangeal joints while keeping the knuckles straight.
- Transition into a full fist: curl all fingers and the thumb tightly into the palm.
- Return to a tabletop position: extend the distal joints while keeping the knuckles bent.
- Open the hand completely, spreading the thumb wide.
- Move slowly through each position, holding each for two seconds.
- Complete ten smooth cycles, focusing on fluid transitions rather than speed.
This sequence should feel effortless and controlled. If you notice catching or hesitation at the A1 pulley, shorten the range and prioritize rhythm over depth. Performing this before and after repetitive hand tasks helps maintain tendon mobility and prevents overnight stiffness.
Thumb Opposition and Spreading Strengtheners
Once acute inflammation subsides, mild strengthening prevents recurrence by improving tendon load capacity and joint stability.
- Rest your forearm on a table with the palm facing upward.
- Press the tip of your thumb against the tip of each finger sequentially, forming an "O" shape.
- Apply light resistance by pressing your index finger into your thumb while maintaining opposition.
- Hold for three seconds, then release and move to the next finger.
- Place a small piece of therapy putty or a soft foam ball between your thumb and index finger.
- Gently squeeze for two seconds without straining, then release completely.
- Perform two sets of ten repetitions, ensuring no pain beyond mild muscular fatigue.
Resistance should remain light during early rehabilitation. Heavy gripping or forceful pinching can reverse progress by reigniting pulley inflammation. Gradually introduce higher resistance only after four to six weeks of consistent, pain-free movement.
Gentle Self-Myofascial Release and Massage
Soft tissue mobilization reduces localized swelling and breaks up superficial adhesions around the thenar eminence.
- Use two to three fingers from your opposite hand to gently knead the fleshy base of your thumb.
- Apply light, circular pressure moving from the wrist toward the knuckle, avoiding direct compression over the painful nodule.
- Perform slow sweeping strokes along the forearm muscles that control thumb motion.
- Spend two to three minutes per session, stopping if the tissue becomes overly tender.
- Follow immediately with warm water immersion and your gliding sequence to maximize tissue pliability.
Avoid deep cross-fiber friction over the inflamed pulley, as this can increase vascular congestion and worsen symptoms. The goal is fluid drainage and superficial muscle relaxation, not aggressive tissue manipulation.
How to Safely Implement a Daily Rehabilitation Routine
Consistency and proper dosing determine whether your exercises for trigger thumb lead to sustained relief or temporary setbacks. Rehabilitation is not about pushing through discomfort; it is about strategically loading the tissue within its healing threshold. Establishing a structured routine ensures progressive adaptation while minimizing the risk of overuse flare-ups.
Optimal Frequency, Sets, and Duration
Begin with short, frequent sessions rather than one prolonged workout. Three to four daily sessions of ten to fifteen minutes allow for repeated synovial fluid circulation without exhausting the healing tissue. Morning routines are particularly beneficial for combating overnight stiffness, while evening sessions help flush inflammatory byproducts after daily activities. Maintain a symptom diary tracking range of motion, pain levels, and functional improvements. This data helps clinicians adjust your protocol and provides objective evidence of progress that keeps motivation high.
Proper Warm-Up and Cool-Down Protocols
Never perform exercises for trigger thumb on cold, rigid tissue. Begin each session with a five-minute warm-up using a warm compress, paraffin wax treatment, or warm water soak at approximately 95 to 100 degrees Fahrenheit. Heat increases collagen extensibility, reduces muscle guarding, and improves blood flow. After completing your movements, finish with a two-minute cool-down involving gentle shaking of the hands, light wrist circles, and resting the arm elevated to promote venous return. This simple protocol dramatically reduces post-exercise soreness and accelerates tissue recovery.
Recognizing Warning Signs and Knowing When to Rest
While mild stiffness is expected, certain symptoms indicate the need to pause and reassess. Sharp pain during movement, increased swelling overnight, persistent locking that requires forceful manual extension, or radiating numbness into the thumb pad all signal excessive mechanical stress. If these occur, reduce your session frequency, revert to passive gliding only, and apply ice for ten minutes after activity. Continuing to push through inflammatory warning signs delays healing and increases the likelihood of requiring procedural intervention. Rest is not failure; it is a strategic phase of tissue adaptation.

Complementary Therapies and Lifestyle Modifications
Exercises for trigger thumb achieve maximum effectiveness when paired with supportive interventions and daily habit adjustments. Isolated movement therapy addresses local mechanics, but comprehensive management requires modifying the environmental and behavioral factors that originally triggered the inflammation.
Bracing, Splinting, and Nighttime Support
Custom or prefabricated thumb splints restrict excessive flexion during sleep, preventing prolonged tendon compression against the inflamed A1 pulley. Most patients wear their splint continuously for two to four weeks, then transition to nighttime-only use for an additional three to six weeks. Proper fit is essential; the splint should immobilize the metacarpophalangeal joint while allowing interphalangeal movement. Remove the splint for all exercise sessions to maintain mobility. Studies show that combining splinting with targeted exercises significantly reduces recurrence rates and improves long-term functional outcomes.
Ergonomic Modifications for Daily Activities
Repetitive strain remains the primary driver of symptom recurrence. Implementing simple ergonomic adjustments protects your progress:
- Use utensils with larger, cushioned handles to distribute pressure across the palm rather than concentrating it on the thumb joint.
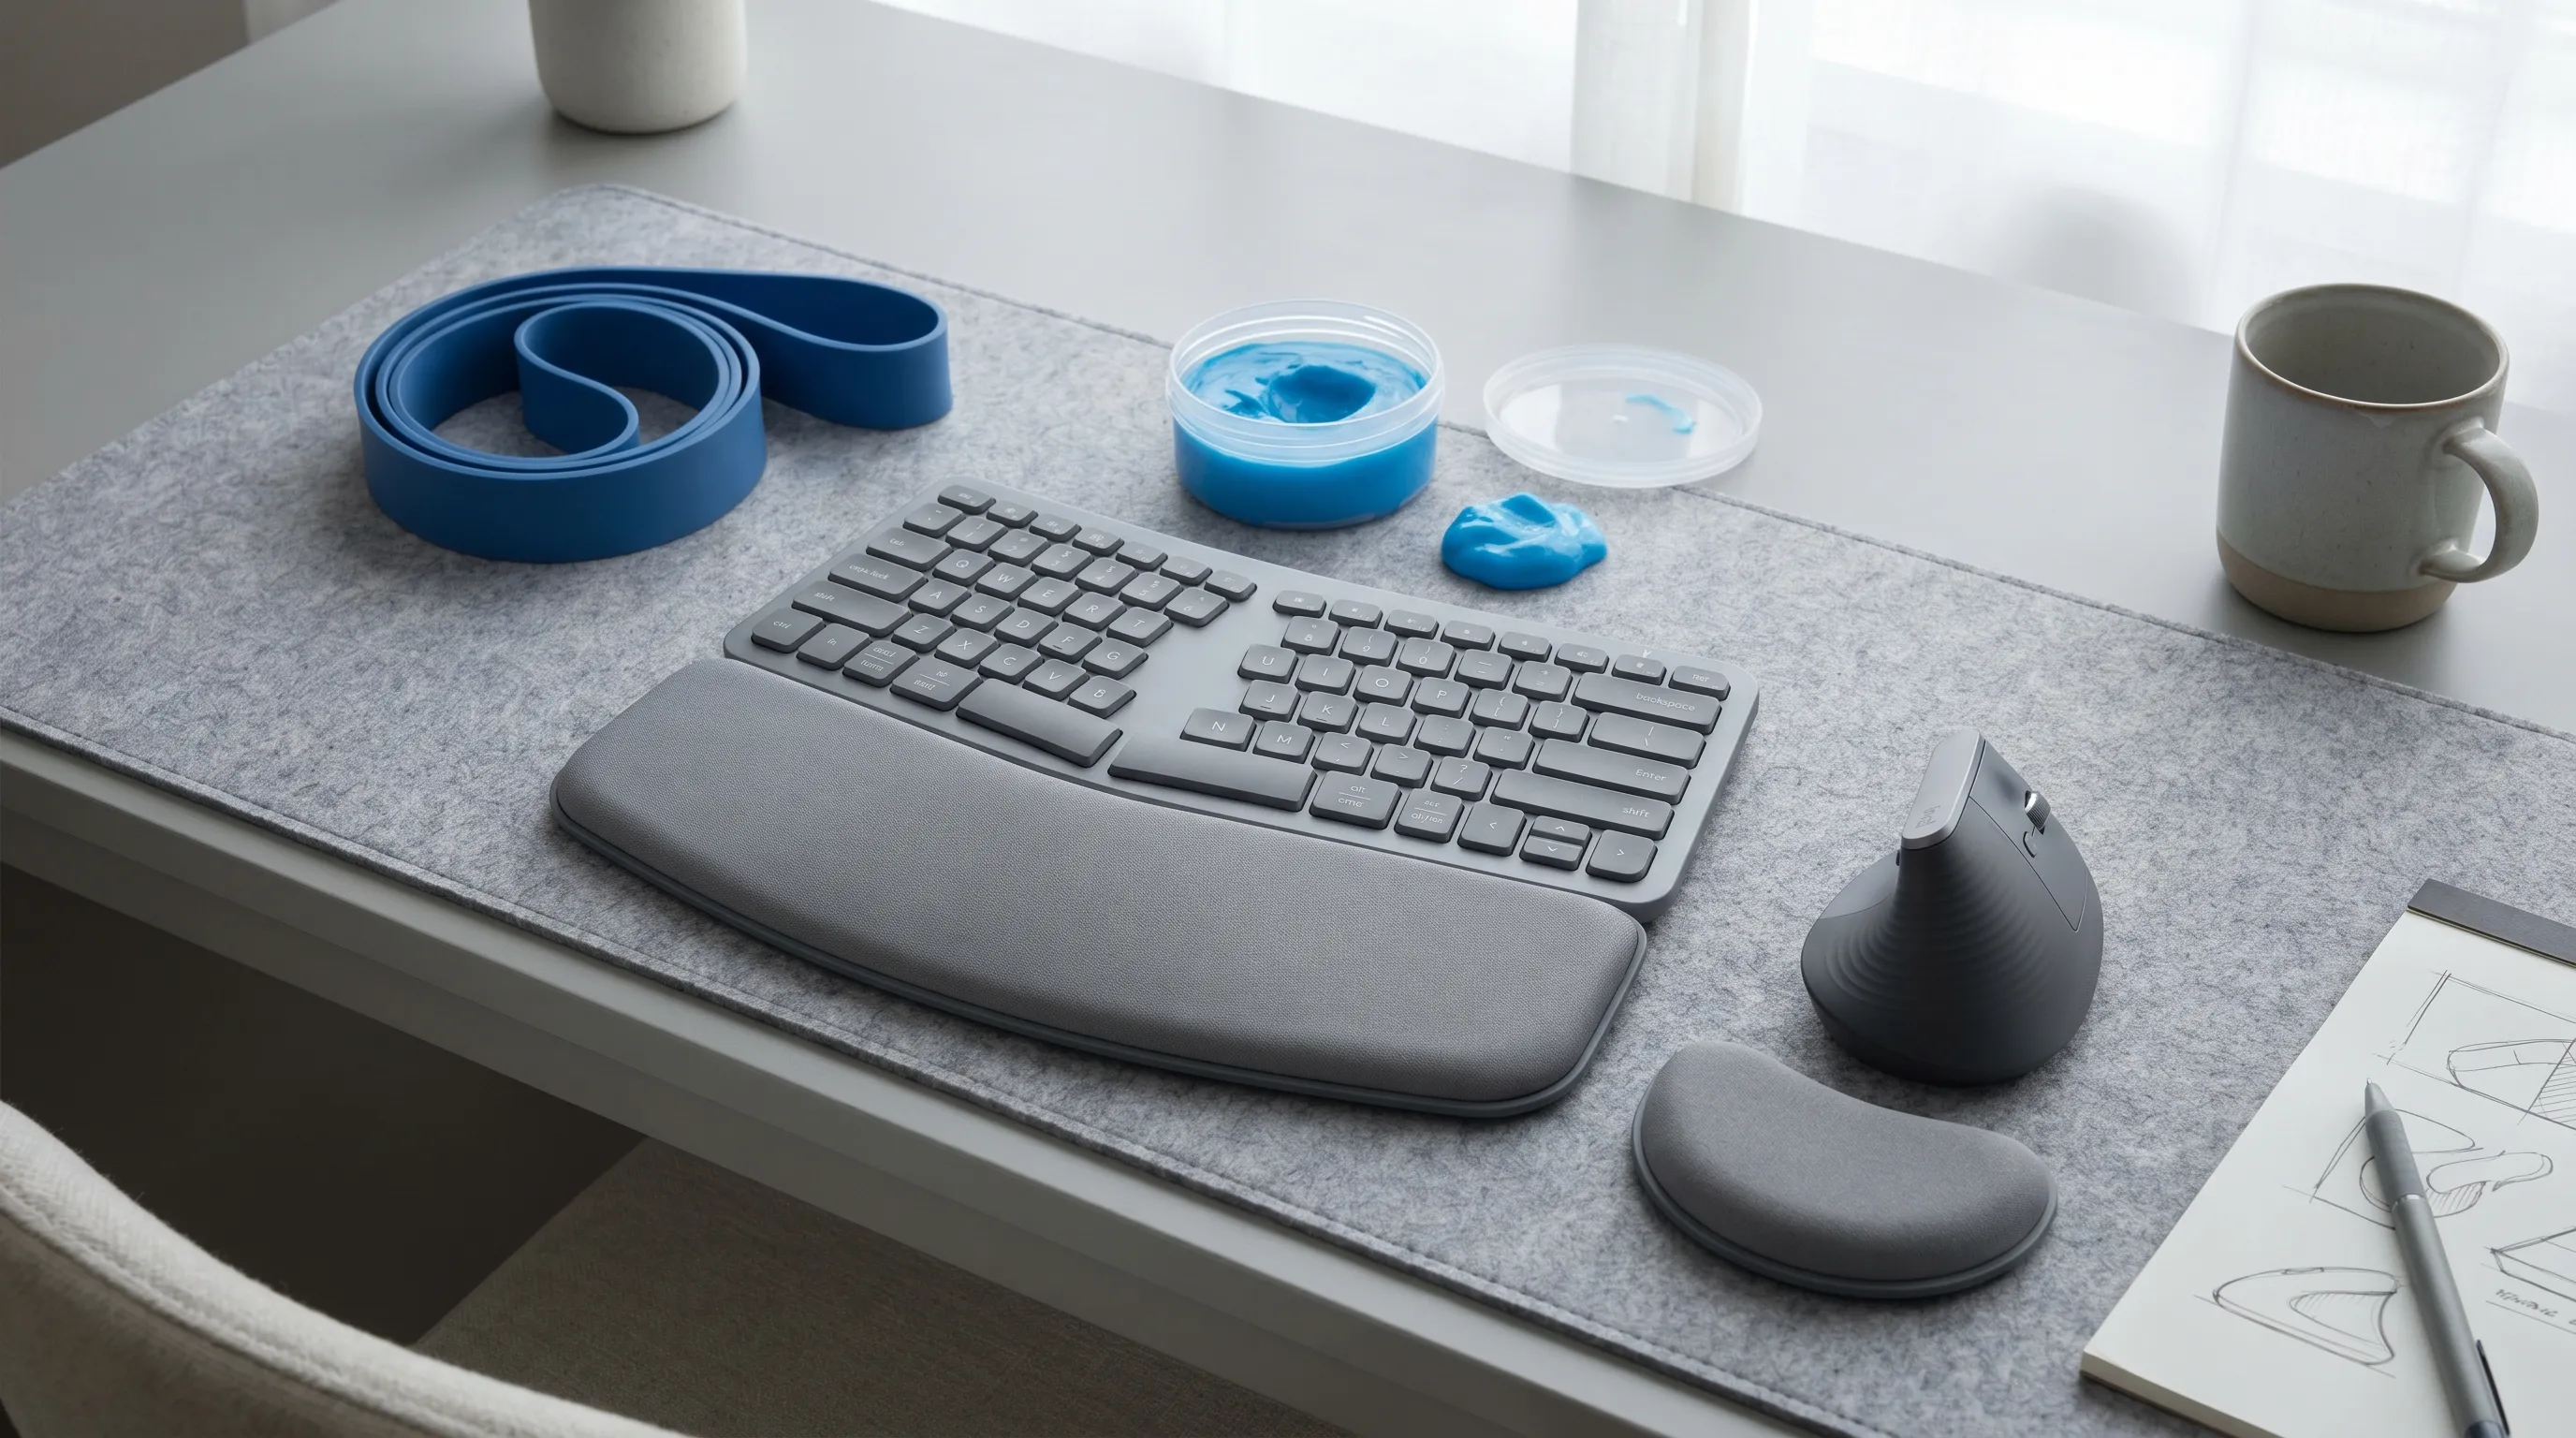
- Switch to voice-to-text typing, speech recognition software, or ergonomic keyboards to reduce prolonged smartphone scrolling.
- Utilize jar openers, lever-style door handles, and push-plate light switches to minimize forceful gripping.
- Take micro-breaks every thirty minutes during repetitive tasks, performing two minutes of gentle gliding to reset tendon lubrication.
- Alternate dominant and non-dominant hands for carrying bags, holding objects, or operating machinery when possible.
When to Consider Corticosteroid Injections or Surgery
Despite diligent adherence to exercises for trigger thumb, approximately twenty to forty percent of patients may require additional intervention due to chronic pulley thickening or long-standing symptom duration. Corticosteroid injections deliver potent anti-inflammatory medication directly into the tendon sheath, providing rapid pain relief and improved mobility in up to ninety percent of cases. However, repeated injections can weaken tendon fibers and skin, so most clinicians limit them to two per digit per year. If injections fail to provide lasting relief or if the thumb becomes permanently fixed, a minor surgical procedure known as A1 pulley release offers definitive correction with high success rates and rapid recovery. Surgery is typically reserved for refractory cases after six to twelve months of conservative failure.
| Treatment Approach | Ideal Candidate | Primary Benefit | Typical Recovery Timeline | Success Rate |
|---|---|---|---|---|
| Targeted Thumb Exercises | Mild to moderate symptoms, early-stage inflammation, high compliance | Restores mobility, reduces inflammation, prevents adhesions | 4 to 8 weeks | 60-80% |
| Nighttime Splinting | Morning stiffness, frequent clicking, active lifestyle | Prevents overnight flexion contracture, allows tissue rest | Continuous use for 3-4 weeks, then gradual weaning | 50-70% |
| Corticosteroid Injection | Moderate to severe pain, failed exercise protocol, rapid relief needed | Powerful localized anti-inflammatory effect | 24-48 hours for noticeable relief, lasting 3-12 months | 70-90% |
| Surgical Pulley Release | Chronic locking, failed conservative care, permanent deformity | Anatomical correction, permanent symptom resolution | 1-3 weeks for suture removal, 4-6 weeks for full strength | 95%+ |
Frequently Asked Questions
How long does it take for exercises to work on trigger thumb?
Most patients notice measurable improvements in pain and mobility within 4 to 6 weeks of consistent daily practice. Clinical studies suggest that approximately 60 to 80 percent of early-stage trigger thumb cases resolve completely with conservative management, provided exercises are performed correctly and aggravating activities are modified. Progression varies based on symptom duration, age, and underlying systemic factors like diabetes.
Should I stretch trigger thumb if it is actively catching or locked?
If your thumb is actively locked in a flexed position, forceful stretching can cause further microtrauma to the inflamed pulley system. Instead, prioritize gentle passive mobilization, warm water soaks, and tendon gliding drills. If the thumb remains mechanically locked or you experience significant swelling and numbness, seek medical evaluation promptly. Manual reduction by a clinician may be necessary before starting an exercise protocol.
Can trigger thumb exercises be done alongside wearing a splint?
Yes, in fact, combining nighttime or rest-period splinting with targeted daytime exercises is a gold-standard conservative approach. Splints limit repetitive flexion and allow the inflamed tendon sheath to rest, while exercises prevent stiffness, promote circulation, and maintain range of motion. Most clinicians recommend wearing the splint during sleep and removing it for 3 to 4 daily exercise sessions of 10 to 15 minutes each.
Are there specific exercises that worsen trigger thumb symptoms?
High-resistance gripping, repetitive pinching, deep palm pressure, and aggressive forceful flexion can exacerbate inflammation and increase friction at the A1 pulley. Avoid heavy weightlifting, tight jar opening, prolonged smartphone scrolling with one hand, and any exercise that causes sharp pain, prolonged clicking, or increased morning stiffness. Always prioritize gentle, controlled movements and stop immediately if symptoms flare.
What is the difference between trigger thumb exercises and tendon gliding?
Tendon gliding is a specific subset of therapeutic exercises designed to move the flexor tendons through all phases of their anatomical pathway without excessive joint compression. General thumb exercises may include static stretches, strengthening with resistance bands, or joint mobilizations. Tendon gliding specifically focuses on sequential positioning to prevent adhesion formation, reduce sheath pressure, and restore smooth gliding mechanics. Both are essential but serve slightly different rehabilitative purposes.
Key Takeaways
Recovering from trigger thumb requires a balanced approach that combines targeted movement, tissue protection, and long-term habit modification. Exercises for trigger thumb are not a quick fix, but rather a scientifically backed pathway to restore smooth tendon mechanics, reduce localized inflammation, and prevent future flare-ups. By integrating gentle range-of-motion drills, progressive tendon gliding sequences, and mindful ergonomics into your daily routine, you can significantly accelerate healing while minimizing the need for invasive interventions. Consistency, patience, and symptom-guided progression remain the most reliable predictors of success. Always listen to your body, respect your current stage of inflammation, and seek professional guidance when symptoms plateau or worsen. With the right strategy, you can reclaim pain-free thumb function and return to your daily activities with confidence.
For additional clinical resources on hand rehabilitation and conservative tendon management, visit authoritative sources such as the American Academy of Orthopaedic Surgeons Trigger Thumb Overview and the Mayo Clinic Hand Therapy Guidelines. Implementing these evidence-based strategies consistently will provide the best foundation for lasting joint health and functional recovery.
How we work
Researched and drafted with AI assistance, then reviewed by a human editor against the cited sources.
This article is general health information, not medical advice. Consult a qualified healthcare professional about your own situation.