How to Survive 6 Weeks Non Weight Bearing: The Complete Recovery Guide

Facing a strict non-weight-bearing recovery period can feel overwhelming at first. Whether you are recovering from a complex fracture, ligament reconstruction, or post-surgical bone fusion, learning how to survive 6 weeks non weight bearing requires strategic planning, physical discipline, and psychological resilience. The human body is remarkably adaptable, but sudden immobility disrupts your daily rhythm, alters biomechanics, and tests your patience. By implementing evidence-based mobility techniques, optimizing your living environment, prioritizing targeted nutrition, and establishing sustainable routines, you can transform this temporary limitation into a structured healing journey. Medical professionals emphasize that successful recovery during this critical window directly correlates with adherence to weight restrictions, proactive complication prevention, and consistent therapeutic engagement. The following guide provides a comprehensive, framework designed to keep you mobile, mentally stable, and physically prepared for a full return to activity. Understanding how to survive 6 weeks non weight bearing is not just about enduring discomfort; it is about actively participating in your own rehabilitation while protecting the delicate biological processes of tissue regeneration.
Understanding the Medical Reality of Non-Weight Bearing Restrictions
What Does "Non-Weight Bearing" Actually Mean?
Non-weight bearing (NWB) is a strict medical directive requiring zero mechanical load through the affected extremity. Unlike partial or toe-touch weight-bearing protocols, NWB means the injured limb must not contact the ground, support any body mass, or transmit force through bones, joints, or surgical hardware. This restriction is typically enforced for 4 to 8 weeks, with six weeks being the standard window for initial collagen matrix formation and early callus bridging in orthopedic injuries. During this period, microtrauma from accidental loading can compromise osteogenesis, destabilize internal fixation devices, or cause secondary soft tissue inflammation. Physicians prescribe NWB when structural integrity is severely compromised, ensuring that healing tissues remain undisturbed during the critical inflammatory and proliferative phases of wound repair. Adhering strictly to this directive prevents delayed union, malunion, or hardware failure, which could necessitate revision surgery.
Free calculatorMacros CalculatorCalculate protein, carbs, and fatOpen the calculatorWhy Doctors Prescribe This Restriction
Orthopedic surgeons and sports medicine specialists enforce NWB status based on imaging findings, surgical technique, and biomechanical stress analysis. Weight-bearing generates ground reaction forces that travel upward through the kinetic chain, potentially exceeding the tensile strength of freshly repaired ligaments, fused bone segments, or reconstructed joints. Common indications include tibial plateau fractures, ankle syndesmosis repairs, Achilles tendon ruptures, foot and metatarsal fractures, and complex knee reconstructions. The biological rationale is straightforward: cellular proliferation and extracellular matrix synthesis require a stable, low-movement microenvironment. Mechanical overload triggers excessive inflammatory mediators, disrupts angiogenesis, and delays the transition from soft to hard callus. Furthermore, early loading can stretch or tear suture anchors, displace fracture fragments, or compromise graft incorporation. Understanding the physiological justification behind your restriction transforms compliance from a passive obligation into an active investment in long-term joint preservation and functional restoration.
The Six-Week Healing Timeline Explained
Bone and soft tissue healing follow predictable biological phases. Days 1 through 7 constitute the inflammatory stage, characterized by hematoma formation, cytokine release, and phagocytic cleanup of debris. Weeks 2 through 3 mark the proliferative phase, where fibroblasts and chondroblasts generate a soft collagenous callus. By weeks 4 through 6, osteoblasts mineralize this matrix into woven bone, initiating the hardening process. While radiographic consolidation often becomes visible around week 6, full cortical remodeling takes several months. Knowing how to survive 6 weeks non weight bearing means aligning your recovery behaviors with these biological milestones. During the first two weeks, focus heavily on edema management, pain control, and strict elevation. Mid-recovery shifts toward gentle proximal strengthening and mobility aid mastery. The final two weeks prepare you for transition protocols, emphasizing neuromuscular reactivation, proprioceptive training, and careful gait progression. Rushing this timeline invites reinjury, while respecting it accelerates functional return.
Transforming Your Living Space into a Safe Recovery Zone
Creating Clear Mobility Pathways
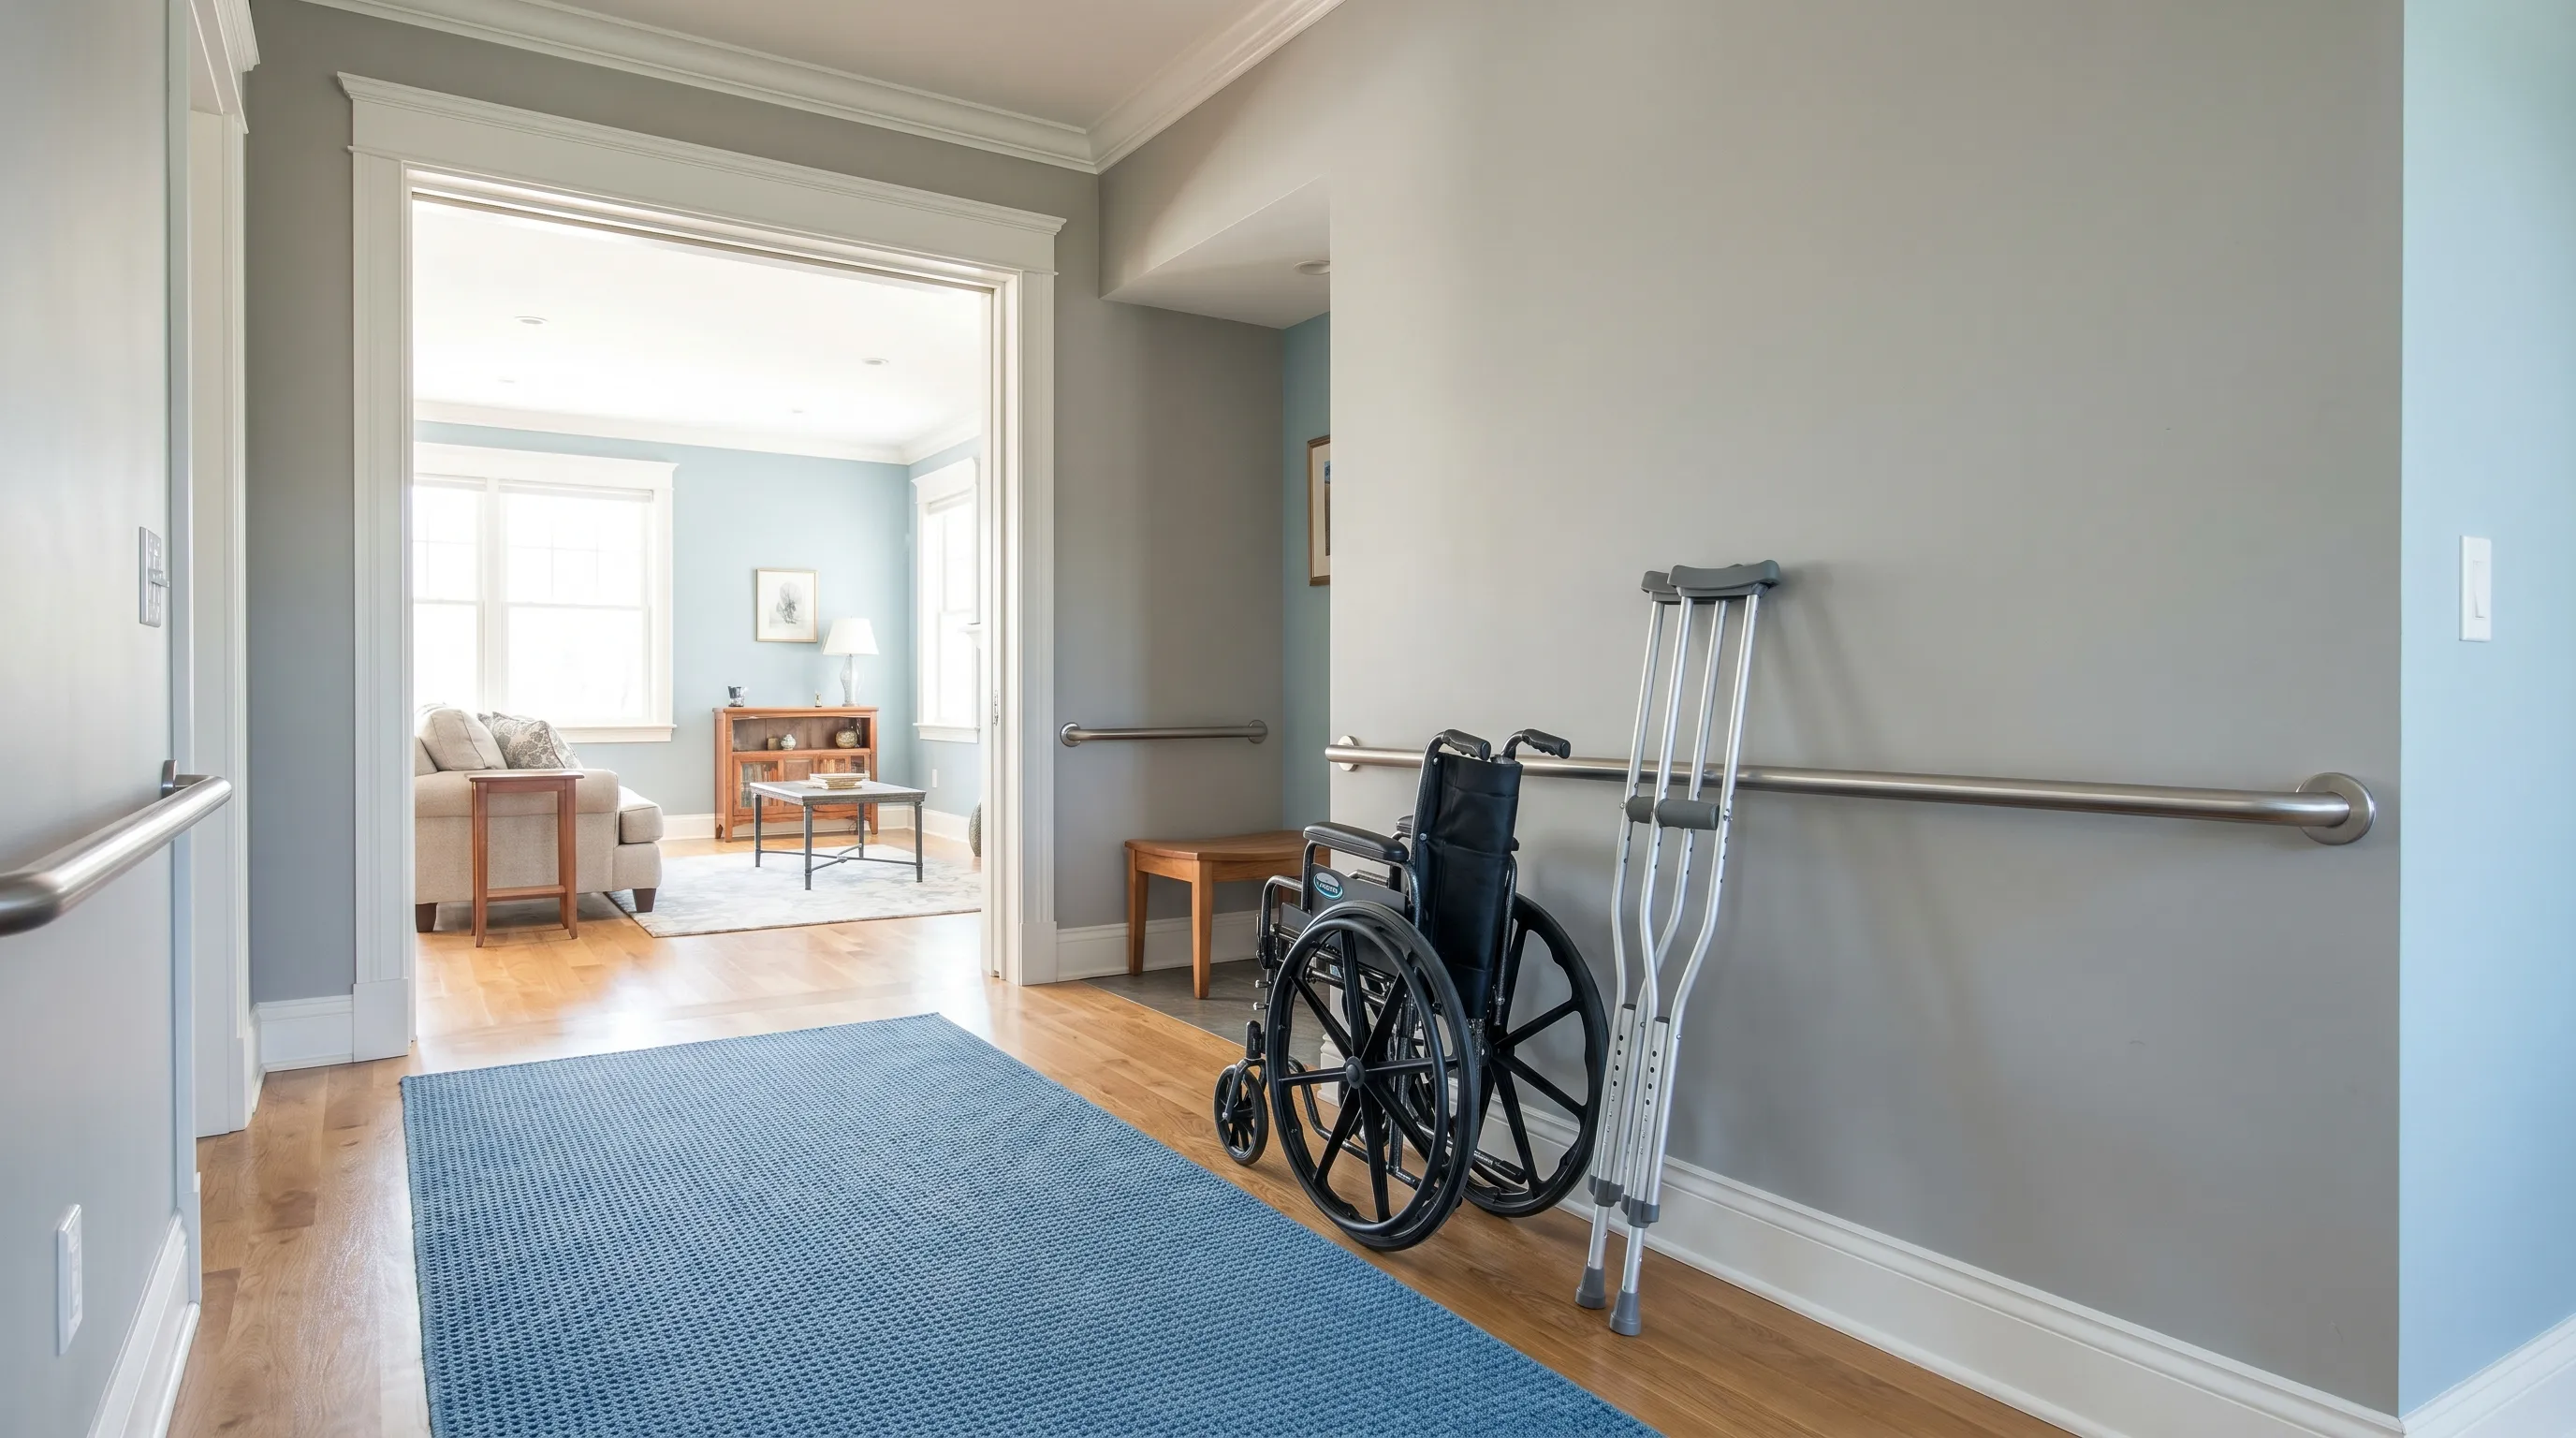
Environmental hazards are the leading cause of accidental weight-bearing events during early rehabilitation. Removing tripping risks requires a systematic room-by-room assessment. Secure loose rugs with non-slip backing, relocate electrical cords to wall-mounted channels, and ensure walkways remain completely unobstructed. Doorways should allow at least 36 inches of clearance for wheelchairs or widened crutch swings. Install temporary night lighting in hallways and bathroom areas to prevent missteps during nocturnal bathroom visits. Keep essential items at waist-to-shoulder height to eliminate the need for bending, reaching, or balancing on one leg. Strategically arrange furniture to create continuous handrail support points. When learning how to survive 6 weeks non weight bearing, environmental predictability reduces cognitive load, allowing you to focus on proper biomechanics rather than navigating unpredictable terrain. A well-planned recovery zone minimizes fall risk, which is critical since secondary injuries dramatically extend rehabilitation timelines.
Essential Equipment You Must Acquire
Investing in high-quality assistive devices before surgery or injury diagnosis prevents scrambling during acute pain episodes. Standard axillary crutches work for most patients, but forearm (Lofstrand) crutches offer superior shoulder joint preservation and improved stair navigation. For those with limited upper body strength, a lightweight, bariatric-rated rollator with a secure locking mechanism provides seated rest intervals. A well-cushioned shower chair with non-marking rubber feet, a handheld bidet sprayer, and a leg lifter strap significantly simplify personal care. Knee scooters can be useful for some injuries but are contraindicated for proximal fractures, knee ligament tears, or conditions requiring strict limb stabilization. Always consult your physical therapist for device sizing, as improperly adjusted equipment shifts your center of gravity, increasing compensatory strain on your contralateral hip, lumbar spine, and sound ankle. Proper device selection is a foundational step in understanding how to survive 6 weeks non weight bearing without developing secondary musculoskeletal complaints.
Bathroom and Kitchen Modifications
Wet surfaces and elevated counters present unique challenges for non-weight-bearing individuals. Install suction-cup or permanently mounted grab bars adjacent to the toilet, shower entrance, and sink. Apply commercial-grade anti-slip treatment to all bathroom flooring, and consider a temporary threshold ramp to eliminate tripping hazards. In the kitchen, rearrange frequently used cookware, utensils, and pantry items within a 12-to-15-inch radius of your primary seated workstation. Use a tall, stable step stool with a handrail only if absolutely necessary, though seated meal prep is strongly recommended. Stock up on single-serving containers, ready-to-eat proteins, and easy-pour liquids to minimize heavy lifting and awkward postures. A wheeled utility cart can transport supplies between rooms without compromising balance. These ergonomic adjustments reduce compensatory spinal loading and protect the healing extremity from inadvertent contact. Mastering how to survive 6 weeks non weight bearing begins with designing a space that works for you, rather than forcing your body to adapt to an unsafe layout.
Mastering Mobility Aids and Safe Movement Techniques
Proper Crutch and Walker Mechanics
Correct assistive device usage prevents upper extremity overuse injuries and maintains spinal alignment. When adjusting axillary crutches, follow established crutch safety guidelines. The top pad should rest two to three finger widths below your armpit, with handgrips positioned so your elbows flex at approximately 30 degrees. Avoid resting weight on the axillary bars, as prolonged pressure can compress the brachial plexus, leading to crutch palsy. Walk with a three-point gait: place both crutches forward simultaneously, then swing your unaffected leg through while maintaining the injured limb elevated. Keep your torso upright, engage your core, and avoid leaning heavily into the handgrips. For walkers, select a model with ergonomic handles and a secure braking system. Advance the walker fully, ensure all four tips contact the ground, then step forward with your sound leg. Practice turning by pivoting on your unaffected foot rather than crossing or dragging the crutches. Consistent, symmetrical movement patterns distribute mechanical stress evenly and reduce fatigue. When navigating crowded or uneven surfaces, prioritize stability over speed.
Navigating Stairs and Transferring Surfaces
Stair climbing demands precise coordination and controlled momentum. Always ascend with your unaffected leg and descend with your affected leg, following the clinical mantra: "Up with the good, down with the bad." Keep one hand on the handrail at all times. To climb: place crutches on the step below, shift weight to the sound leg, step up, then elevate crutches. To descend: position crutches on the step below, lower crutches first, shift weight to the upper body and sound leg, then carefully lower yourself step by step. For chair and bed transfers, position the assistive device at a 45-degree angle. Lower yourself slowly by bracing with both hands, extending your sound leg forward, and controlling your descent through eccentric muscle contraction. Use a firm mattress edge or transfer board to bridge gaps. Avoid twisting your torso while seated; instead, pivot your entire pelvis using your sound foot. Mastering these transitions eliminates sudden weight shifts that could compromise surgical sites or fracture alignment.
Nutrition and Supplementation for Accelerated Bone and Tissue Repair
Key Vitamins and Minerals for Structural Healing
Nutritional biochemistry directly influences osteogenesis and soft tissue regeneration. Calcium and vitamin D3 remain foundational for mineralization, with daily targets aligned with NIH supplementation recommendations. Magnesium facilitates calcium transport and supports muscle relaxation, reducing cramping during periods of immobilization. Vitamin C acts as an essential cofactor for collagen synthesis, while zinc and copper participate in cross-linking collagen fibers and activating matrix metalloproteinases necessary for tissue remodeling. Incorporate leafy greens, fortified dairy, fatty fish, citrus fruits, pumpkin seeds, and lean poultry into daily meals. Avoid excessive caffeine and alcohol, which impair nutrient absorption and disrupt sleep architecture. Hydration is equally critical; dehydration thickens blood viscosity, increasing thrombotic risk and slowing cellular waste clearance. Understanding how to survive 6 weeks non weight bearing includes recognizing that healing occurs from the inside out, driven by consistent micronutrient delivery and optimal metabolic function.
Protein Intake and Collagen Synthesis
Collagen comprises approximately 90% of the organic matrix in bone and is the primary structural component of tendons, ligaments, and surgical suture sites. Adequate dietary protein provides the essential amino acids, particularly glycine, proline, and hydroxyproline, required for triple-helix collagen formation. Research recommends 1.2 to 1.6 grams of protein per kilogram of body weight during immobilization to counteract disuse atrophy and support tissue repair, consistent with clinical nutrition guidelines for recovery. Distribute intake evenly across three to four meals to maximize muscle protein synthesis. High-quality sources include eggs, Greek yogurt, whey or pea protein isolates, fish, poultry, and legumes. Combining protein-rich foods with vitamin C-rich fruits enhances enzymatic conversion of amino acids into mature collagen fibers. For patients experiencing reduced appetite, liquid nutritional supplements or bone broth can provide easily digestible, nutrient-dense alternatives without requiring extensive preparation. Prioritizing protein intake accelerates wound closure and strengthens the extracellular matrix surrounding healing tissues.
Foods That Reduce Inflammation and Swelling
Chronic inflammation delays the transition from the inflammatory to proliferative healing phases. Incorporating anti-inflammatory compounds modulates cytokine activity and reduces peripheral edema. Omega-3 fatty acids from wild-caught salmon, sardines, chia seeds, and walnuts compete with pro-inflammatory arachidonic acid pathways. Turmeric, ginger, and bromelain contain natural enzymatic inhibitors that mitigate swelling without the gastrointestinal risks associated with prolonged NSAID use. Dark berries, tart cherries, and cruciferous vegetables provide polyphenols and glucosinolates that support cellular antioxidant defenses. Limit refined carbohydrates, trans fats, and excessive sodium, which promote water retention and exacerbate localized swelling. Proper edema management not only reduces discomfort but also improves range of motion in adjacent joints, facilitating safer mobility and circulation. When researching how to survive 6 weeks non weight bearing, dietary strategy emerges as a powerful, evidence-based lever for controlling systemic inflammation and optimizing the healing microenvironment.

Protecting Your Mental Health and Preventing Isolation
The Psychological Toll of Immobilization
Forced immobility triggers predictable neurobiological responses, including elevated cortisol levels, disrupted circadian rhythms, and dopamine fluctuations that manifest as frustration, anxiety, or depressive symptoms, as highlighted in WHO mental health guidelines. The sudden loss of independence, compounded by chronic discomfort and sleep disruption, creates a cognitive load that often exceeds physical recovery challenges. Acknowledging these psychological shifts as normal biological responses rather than personal failures is crucial for long-term adherence to rehabilitation protocols. Isolation exacerbates symptom severity, as social withdrawal reduces positive feedback loops necessary for neurochemical balance. Patients frequently report feelings of helplessness when basic tasks require assistance or extended planning periods. Implementing structured coping mechanisms early prevents acute distress from developing into prolonged adjustment disorders or non-compliance with medical instructions. Mental resilience is as critical as mechanical stability when learning how to survive 6 weeks non weight bearing.
Building a Support System and Routine
Recovery thrives within predictable frameworks. Establish a daily schedule that integrates rest periods, mobility exercises, meal preparation, mental stimulation, and social connection. Delegate specific responsibilities to family members, friends, or telehealth support services to prevent caregiver burnout and ensure consistent assistance. Maintain virtual or in-person contact through scheduled video calls, recovery group participation, or guided meditation sessions. Journaling progress, tracking pain levels, and documenting mobility milestones provide tangible evidence of improvement, countering the slow pace of biological healing. Engage in cognitive hobbies that do not require standing or fine motor coordination, such as audiobooks, podcasts, strategic planning, or creative writing. A structured routine minimizes decision fatigue, preserves circadian alignment, and creates psychological safety nets. Proactive social engagement and consistent time management directly impact medication compliance, physical therapy attendance, and overall rehabilitation velocity.
Upper-Body and Core Safe Workouts
Maintaining proximal strength prevents postural degradation and supports long-term functional independence. Seated resistance band exercises, dumbbell curls, shoulder external rotations, and controlled core stabilization routines preserve muscle mass without transmitting load to the lower extremities. Focus on scapular retraction, thoracic mobility, and diaphragmatic breathing to counteract the forward-rounded posture commonly seen during prolonged crutch use. Incorporate gentle yoga or Pilates modifications designed specifically for seated participants, emphasizing pelvic floor engagement and spinal decompression. Avoid overhead pressing or heavy axial loading if your physician has restricted intra-abdominal pressure elevation due to recent abdominal or spinal procedures. Consistent, low-impact upper body conditioning maintains cardiovascular endurance, supports assistive device usage, and prevents compensatory strain on the contralateral hip and lumbar spine. When exploring how to survive 6 weeks non weight bearing, active participation in upper-body conditioning transforms passive recovery into progressive athletic preparation.
Daily Logistics and Self-Care Hacks for Independence
Hygiene and Grooming Without Standing
Personal care routines require strategic adaptation to maintain dignity and prevent accidental loading. Utilize a sturdy, height-adjustable shower chair with a secure backrest. Install a handheld shower wand for targeted cleaning without repositioning your body. Keep a waterproof leg cover or plastic sleeve nearby to protect dressings or surgical sites from water exposure. For dental hygiene, sit close to the sink and lean forward slightly to minimize neck strain. Use long-handled grooming tools, sponges, and razors to maintain personal standards while seated. Keep skincare products, medications, and hygiene supplies within arm's reach on a stable bathroom counter. Establish a morning and evening routine that separates high-energy tasks (like showering) from low-energy maintenance (like moisturizing or medication organization). Consistent self-care preserves autonomy, reduces reliance on others, and reinforces positive behavioral momentum during the recovery period.
Cooking and Meal Preparation Strategies
Nutritional intake must remain consistent despite mobility restrictions. Adopt batch-cooking methodologies before your surgery or injury occurs, or immediately upon diagnosis. Prepare large quantities of soups, stews, grain bowls, and roasted vegetables that can be portioned and refrigerated or frozen. Utilize single-pot meals that require minimal stirring, lifting, or standing time. Keep a wheeled kitchen cart within your primary cooking zone to transport ingredients from pantry to counter without walking. Use lightweight, non-stick cookware, electric can openers, jar grips, and adaptive cutting tools to reduce wrist and hand strain. When cooking at a seated height, ensure counter space remains clear and well-ventilated to prevent overheating. Hydration should be prioritized with a large insulated water bottle positioned on a stable surface. Streamlined meal logistics ensure consistent caloric and micronutrient intake, preventing metabolic slowdown and supporting continuous tissue repair.
Sleep Optimization and Positioning
Quality sleep drives human growth hormone release, cellular repair, and inflammatory regulation. Positioning the affected limb correctly prevents dependent edema, nerve compression, and joint stiffness. Use two or three firm pillows to elevate the limb above heart level, ensuring the heel remains slightly raised to prevent pressure ulcers. Avoid crossing the legs or allowing the injured extremity to rotate internally or externally without support. Sleep on your back whenever possible; if side-sleeping is unavoidable, place a thick pillow between your knees to maintain pelvic alignment and reduce lumbar torque. Maintain a consistent sleep schedule, limit screen exposure 60 minutes before bedtime, and utilize white noise or temperature regulation to improve sleep architecture. Deep, uninterrupted rest accelerates protein synthesis, consolidates motor learning from physical therapy sessions, and stabilizes mood regulation. Mastering sleep hygiene is a non-negotiable component of understanding how to survive 6 weeks non weight bearing effectively.
| Recovery Category | Essential Item/Strategy | Medical Purpose | Recommended Specification |
|---|---|---|---|
| Mobility Support | Forearm Crutches or Rollator | Weight distribution & stability | Adjustable height, 30° elbow flex, non-marking tips |
| Edema Management | Compression Garments & Elevation | Venous return & DVT prevention | Class 1 or 2 compression, limb elevated > heart level |
| Sleep Optimization | Contoured Pillows & Heel Protectors | Pressure relief & circulation | Memory foam, breathable fabric, proper alignment |
| Nutritional Support | High-Protein Meals & Omega-3 Sources | Collagen synthesis & inflammation control | 1.2-1.6g/kg protein, EPA/DHA rich foods |
| Safety Infrastructure | Shower Chair & Grab Bars | Fall prevention & independent hygiene | 300+ lb weight rating, securely wall-mounted |
Frequently Asked Questions
What happens if I accidentally put weight on my non-weight-bearing leg?
Accidental weight bearing can disrupt healing tissues, misalign surgical hardware, delay bone fusion, or cause secondary soft tissue injuries. If this occurs, immediately elevate the limb, apply ice, contact your orthopedic surgeon, and avoid further loading until medically cleared.
Can I shower while strictly non-weight bearing on one foot?
Yes, but you must use a shower chair or bench, a handheld sprayer, and non-slip flooring. Never attempt to stand or balance on your injured leg. Keep a waterproof cover for the leg if you have a dressing that requires protection from water.
How long does it take to regain full muscle strength after six weeks of immobilization?
Muscle atrophy typically begins within 7 to 10 days of disuse. Regaining baseline strength usually requires 2 to 3 months of progressive, guided physical therapy. Consistent resistance training, adequate protein intake, and gradual weight-bearing progression are critical for recovery.
What is the best way to prevent deep vein thrombosis (DVT) during non-weight bearing recovery?
Preventive measures include consistent ankle pumps on the unaffected leg (if cleared), frequent calf compressions, staying well-hydrated, wearing compression stockings if prescribed, avoiding prolonged sitting, and taking anticoagulant medications exactly as directed by your physician, following established CDC guidelines for DVT prevention.
Do I need a wheelchair or will crutches be sufficient for six weeks?
The choice depends on your balance, upper body strength, home layout, and distance to daily necessities. Many patients use a hybrid approach: a wheelchair for longer distances or fatigue-heavy days, and properly fitted forearm or axillary crutches for short, controlled movements around the home.
Conclusion
Navigating a strict non-weight-bearing period demands equal parts physical preparation, environmental adaptation, and psychological discipline. By understanding the biological rationale behind weight restrictions, proactively modifying your living space, mastering assistive device mechanics, prioritizing targeted nutrition, and implementing sustainable daily routines, you actively accelerate your own healing trajectory. Learning how to survive 6 weeks non weight bearing is not merely about enduring temporary inconvenience; it is about executing a deliberate, medically guided recovery protocol that protects surgical sites, prevents secondary complications, and builds the foundation for a complete functional return. Consistency in elevation, nutrition, mobility training, and mental health management directly influences tissue regeneration speed and long-term joint preservation. Trust the process, communicate openly with your healthcare team, and respect the biological timeline. With structured preparation and evidence-based strategies, you will emerge from this period stronger, more resilient, and fully prepared for the next phase of rehabilitation.
How we work
Researched and drafted with AI assistance, then reviewed by a human editor against the cited sources.
This article is general health information, not medical advice. Consult a qualified healthcare professional about your own situation.